Compatibility Guarantee - All Media Transferred

Photo Scaninning

Photo
Scanning

Slide Scaninning

Slide Scanning

Negative Scanning

Negative Scanning

Video Transfer

Video Tape Transfer

Film Transfer

Film
Transfer

Audio Transfer

Audio Transfer

Slideshows

Celebration
Videos

Latest Posts

Awesome “Looking Into The Past” Pictures

“Looking into the past” pictures place past pictures in present day situations. Typically, the camera operator would hold up a vintage image of the same location and match it up with the lens to create a “seamless” effect as a way to blend the modern and vintage photos together. Some of them are spectacular!

enhanced-buzz-15953-1297220203-13

Source

enhanced-buzz-19454-1297222530-0

Source

enhanced-buzz-19454-1297222530-0

Source

enhanced-buzz-19460-1297222832-1

Source

enhanced-buzz-19462-1297222895-2

Source

enhanced-buzz-19463-1297222481-1

Source

As you could probably tell, this style of photography makes for some pretty cool photos. For over 70 more images just like these, check out the BuzzFeed post here: https://www.buzzfeed.com/mjs538/75-captivating-looking-into-the-past-pictures

Gift Ideas That You Can Make From Photos

With modern printing technology it’s now possible to create one of a kind items using your favorite photos! Over the last couple of years, there has been a lot of new companies emerging that will help you create completely custom gifts from all kinds of different photos. The trick is, however, that the photos must be in digital format. If your photos have not been digitized yet, the easiest way is to simply scan them into your computer using a high quality flatbed scanner, or use our low-cost photo scanning service. Once your photo or photos are in a digital format, you can then use your images by placing them onto common items to create unique gift ideas for friends and family.

Here is a short list of some of the amazing items that you can create out of scanned photos, slides or negatives:

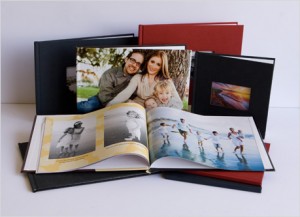
Photobooks

Photobooks are becomming more and more popular as a way to tell a story with your photos, rather than just have them in an album. Photobooks are often described as similar to scrapbooks, the main difference being that the photobooks are actually printed, rather than having clippings and photos glued or tacked to the page itself.

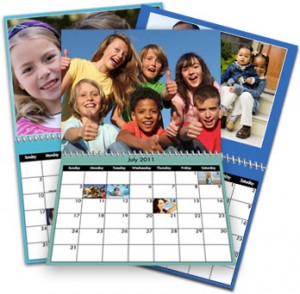
Calendars
calendar

Calendars are a great way to show off your favorite family photos all year round. In addition to choosing your own unique photos, you also have the option of picking the overall design such as the backgrounds and borders. Never forget a birthday or anniversary again!

Mousepads
mouse_pad

Who doesn’t love a new mousepad? Especially a custom designed mousepad with your favorite family photo, or that epic snapshot of your latest vacation. Your will be surfing the web in style with one of these at your desk!

Iphone/Smartphone Cases
iphone case

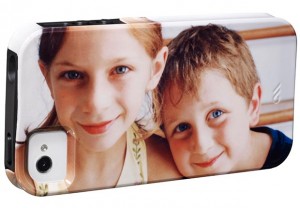
If you’re sick of the same old run of the mill, overpriced smartphone cases, why not obtain a completely unique one? By using any photo of your choice, you can craft a completely custom smartphone or iPhone case for either yourself or a loved one. Show off your awesome photos right on your phone! These make truly awesome gifts for friends and family alike.

Jigsaw Puzzles
jigsawpuzzle

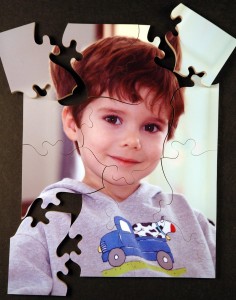
Feeling bored? Or want to keep your kids distracted? Create a brand new jigsaw puzzle out of one of your favorite scanned photos. With different variations in puzzle size and number of pieces, the sky is the limit! Puzzles make awesome gifts for kids and adults alike!

Playing Cards
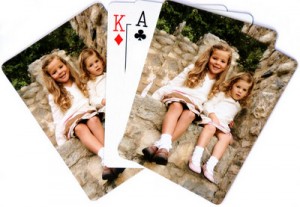
photo-playing-cardJazz up the next poker night with completely custom playing cards! You can create your deck in any style you choose, using any number of images to create a special deck that the whole group would love. These are also great for a family game night where every member can play with their own custom deck!
and much more! For more gift ideas that you can make out of your own photos, check out sites like Shutterfly or Snapfish

Using Your Old Audio Cassettes and LPs in a Playlist

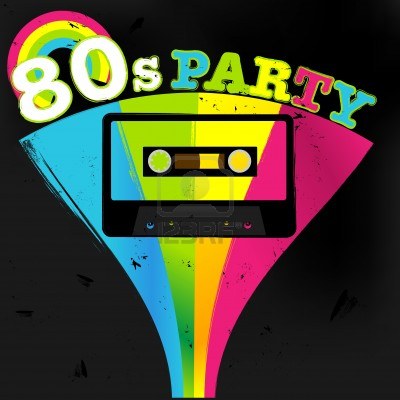
80s-audioWhen it’s time for a party, music is essential to a good time. Creating a customized playlists can help you mold the music to fit the theme of the party, and making sure that all songs work together to keep the party moving. It would be pretty awesome to throw an 80’s party for one of your friends, and adding the old mix tape you guys made from when you were kids into the playlist.

Audio playlists are very popular with online streaming and music applications like Spotify and iTunes. Whether you use them for working out, partying or relaxation, it’s great to be able to customize a list of songs to fit the mood that you’re in. Sometimes, though, you may want to listen to some songs that you don’t have digitized in MP3 format, such as songs from an old vinyl record from your youth or cassette that you recorded with your garage band. Wouldn’t it be cool to expand your digital music library with songs from the past?

In order to add these old classics to your playlist, you first must digitize them, or transfer them digitally to your computer. If you’re wanting to learn how to do this yourself, check out our guide on how to transfer audio cassettes to MP3 files, or CD. Transferring vinyl records follows nearly the same procedure (USB turntables make this easy).

When you’re finished transferring your audio to your computer, you’ll then need to break the audio into each song. Any audio editor will let you do this, by adding track splits, or cropping the audio for each song and saving each piece as a separate WAV, MP3 or any audio format you’d prefer. You can either do this yourself, or have DVD Your Memories transfer your audio to CD or other format.

Click here for a list of the different audio formats and their differences

So, the next time you’re putting together a new playlist, don’t forget about those old classics! There’s no reason you have to go without re-living your youth without your favorite old tunes.

Is It Better to Scan Photos or Negatives? Is there a Difference?

Why Do You Have Negatives in the First Place?

If you’ve got a large photo collection, you’ve almost certainly got some photo negatives in it. Maybe you’re wondering why you’ve got them in the first place. The reason is that in order to get a print of your photos, the printing companies needed to use a photo negative in order to print your photos out. They’re are as close as you’re going to get to the originals. Printing companies like to use them because they offer a better range of color and tonal information than printing from anything else is going to offer.

Scanning Your Collection

The short answer is that if you have a choice, scan negatives and slides, rather than photos. If you’re considering scanning your photo, slide, and negative collection, you’ve probably wondered if it’s better to digitize the slide or negative of an image, or the photo print. However, people commonly lose or misplace the original negatives, which basically leaves them with no choice but to scan the prints. If you’re fortunate enough to still have the originals, it’s recommended that you go with negative scanning. The same logic holds true for image digitization as holds true for image printing. Slides and negatives have more vibrant color, more contrast in tone, and hold up to time better. If you have slides or negatives of images you’ve got as photos, scan those instead of the prints. If you must use photos, don’t scan them on a document scanner. Here’s why.

Why Slides and Negatives Are Better

Generally, photos are printed at a quality of about 300DPI. For a technical explanation of what that means, we’ve published some material about that too. For the purposes of this article, DPI refers to the granular quality of a printed image. There are a certain number of ink dots that get printed on every square inch of paper, and the higher the DPI, the more dots get printed. In the event that an image was low quality to start with, a higher DPI isn’t going to solve any problems. Sometimes you’ll find higher quality prints can be upwards in the 600DPI range. Photo prints tend to be lower quality images, and at DVD Your Memories we don’t scan them more finely than 600DPI. Our slide and negative scanning services, however, are a different story. We’ve scanned tens of millions of slides, negatives, and photos at DVD Your Memories. Having done so, we’ve found that slides and negative scans improve in quality up to 4000DPI. The disparity in data between slides, negatives, and photo prints is substantial. So, if you have the slides and negatives of your images, we almost always recommend scanning those, rather than photos.

What to Think About

Before making any decisions, there are a few points to consider:

What Kind of Shape are your Negatives In?

Often times people misplace or mix up their negatives, which can cause difficulties if you’re trying to sort them out. Bad conditions will make your negatives develop mold, warping, and color fading. Negatives will hold up to the test of time really well, but only if they’re stored in a cool, dry place that doesn’t get any sunshine.

What Kind of Shape are your Photos In?

Older photos are very susceptible to weather damage, and don’t hold up to the elements well at all. They also fade much easier than negatives do, so it’s more than likely your negatives will be in as-good or better shape than your photos.

Will you be Scanning Yourself, or Use a Company?

For some people, this is a deal breaker. The cost of good negative scanner is much higher than a flatbed photo scanner. You don’t want to use a cheap scanner. Some scanning companies will have high-end scanning equipment, and we recommend using a scanning company for any project larger than a hundred or so photos. You’ll usually be able to get some kind of bulk discount – DVD Your Memories, for instance, regularly gives out discounts for 20% or more.

What’s Your Budget?

This is the only area where photo scanning really is clearly better than negative scanning. Photo scanning is far, far quicker than negative scanning, and the equipment to do it well is much cheaper. Scanning companies will always charge far less for photo scanning than for slide and negative scanning per image for that reason. One thing we see our customers do sometimes is to scan an entire collection of photos, as it’s cheaper, find the ones they like best out of that collection, and have us scan the negatives from those photos. That way they get the best quality on the most important images in their collection, while having at least something to show for the rest of it.

Why VHS Wasn’t So Bad After All

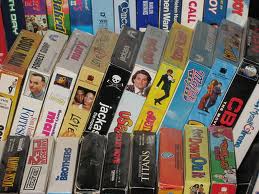
vhsAs demonstrated by two documentaries screening in L.A. this week, obsolescence need not imply irrelevance. Monday night at Cinefamily, Josh Johnson’s Rewind This! provided a people’s history of VHS; tomorrow night at the Nerdist Showroom and then again at the Egyptian on Friday, Dan Kinem and Levi Peretic’s Adjust Your Tracking: The Untold Story of the VHS Collector places a spotlight on those obsessed with what one devotee affectionately refers to as “the most maligned format since the eight-track.”

Both films immediately distinguish themselves by their obvious affection for not only VHS itself but, by extension, their die-hard interviewees: There’s nary a trace of ironic detachment or condescension here, which is exceedingly rare for any depiction of geek culture.

Rewind This! (which is available on iTunes as of August 27) is the more polished and comprehensive of the two, but the DIY, shot-on-video aesthetic of AYT is put together with the sort of rough-around-the-edges care that merges form and content as only a film of this sort could. Kinem and Peretic have taken great pains to emphasize that this is endeavor is for collectors, by collectors, making the proceedings feel especially personal and authentic.

Just as important, they don’t hinge their arguments solely around nostalgia. More than just retrophiles or stubborn contrarians, AYT’s talking heads — many of whom have thousands upon thousands of tapes in their personal collections — offer a ground-level perspective on how VHS was the first format to “take cinema out of the movie theater” and democratize the very act of watching movies. At the video store, several point out, it didn’t matter whether a film cost $100 million to make and featured the biggest movie stars in the world; what mattered was the cover art, which continues to influence many a buying decision today.

Read the rest of the story over at La Weekly: https://blogs.laweekly.com/arts/2013/08/vhs_revival_rewind_this.php

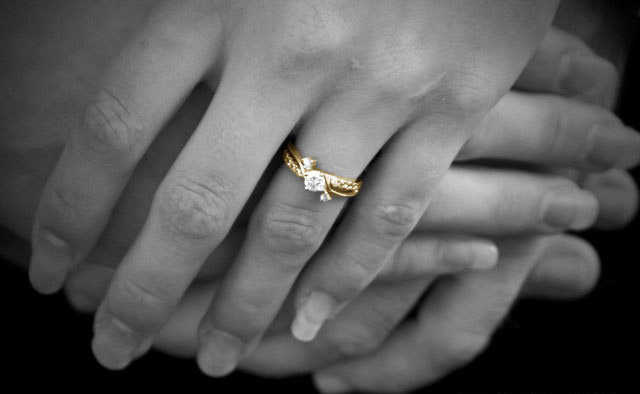
Using Digital Media to Enhance Your Wedding

wedding-day

So if you’re planning your wedding, the first thing you’ll probably ask yourself is what are the must haves for the event?

One of the first choices you’ll make is where the venue will be. Often times, couples like to choose a spot with beautiful scenery, or a spot that symbolizes something important in the relationship. The venue is very important because it will be the place that symbolizes your love for one another, and also because you’ll be keeping this place in your memories forever.

The internet has made this process much simpler than it was back in the old days. Most venues have nice image galleries posted online that you can browse through in the comfort of your own home, without having to pack up and visit the place yourselves.

Once your venue has been picked out, the next step for a lot of people is to find a wedding planner. Wedding planners are very important not only because of the magnitude of the event, but because of all of the required planning and preparation that goes into it. The wedding planner will usually take care of things like party favors, organizing the music choices, guest seating arrangements, making sure the ceremony goes off without a hitch and much, much more. For smaller weddings, usually a wedding planner is not needed, especially if the bride and groom choose to do much of it themselves.

Lastly, you’ll also want to seek out both a photographer and a videographer, especially if you want to keep memories of this special day that you can pass down to your family later in life. Many companies specialize in both photography and videography, so you can usually kill two birds with one stone if you hire the right person/company. Modern weddings are typically shot digitally, which makes it a breeze to edit the footage into a nice DVD or Blu-ray that you can keep and make copies to give out to friends and family. In addition, they’ll also provide you with the raw footage in the event you wanted to edit your own movie or clips to share. The great thing about digital photos and video is that instead of waiting for the film to develop, photos and video can now be shared almost instantaneously with friends and family around the world thanks to the advancement of social sharing and network sites like Facebook, Instagram and Twitter.

A common trend with weddings is that they incorporate digital media throughout the ceremony and reception to enhance the experience for both the bride and groom and the guests. This often includes digital music selections, photo slideshows, digital photo frames and more.

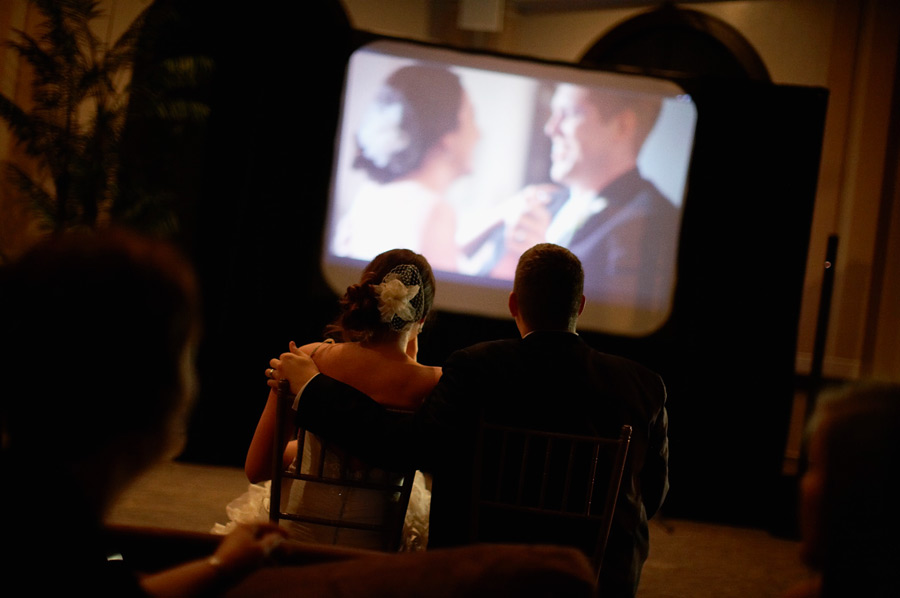
During the reception, a great way to keep your guests entertained is to create a digital slideshow video that features images from the bride and groom from all of their years growing up to when the first met. This is a great way to keep your guests smiling, and to keep the focus on the bride and the groom. Usually, not all of your photos will be in a digital format, so you’ll need to seek out a photo scanning service, or scan the photos yourself from home.

wedding-slideshow

After the wedding is over, you want to preserve your special memories of your wedding. The photographer will usually give you a DVD of your photos after the event, as well as a video on DVD if you chose to also hire a videographer.

A cool idea for a thank you gift for all attendees is to create a photobook from a service like Shutterstock. You can include all sorts of images including childhood imagees. Earlier images would likely need to be gone through a photo scanning process in order to get them digitized. Check out our other post on the best way to make your own photobook.

How to Clean Your VCR: The Safest Method

Cleaning Your VCR: The Right Way


Why Your VCR is Dirty

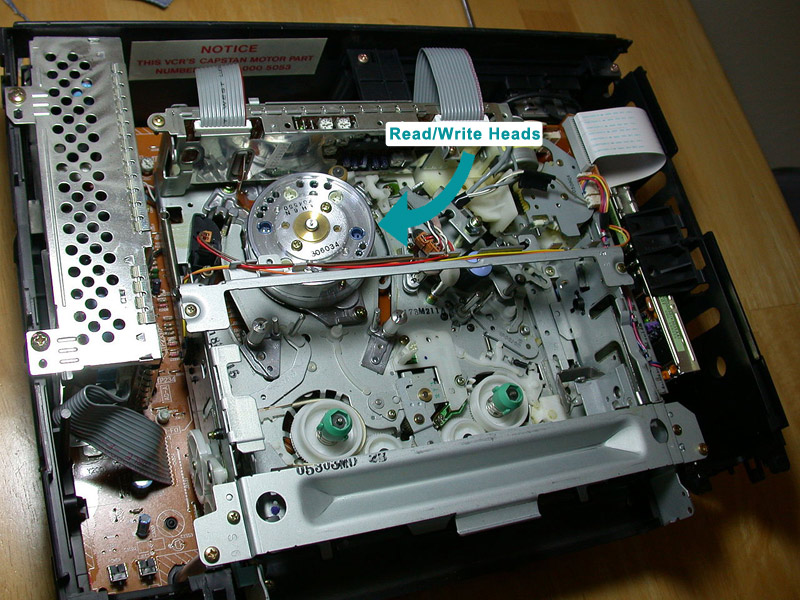
If you’ve noticed a drop in the quality of the picture you’re getting from your VCR, be it general fuzziness, static, or lines through the picture, your VCR probably needs to be cleaned. The element in your VCR that’s probably dirty is the VCR read/write heads, which translate data from the tape to the screen. While there are fast methods to clean them, we don’t recommend them. Use the following method instead.
 

Why Clean your VCR Heads?

If you still own and use your VCR, the chances are that it has a tendency to create unwanted effects on your tapes like static, or lines through the picture. This is usually due to having dirtied up heads on your VCR. It’s possible to clean the VCR heads, but it’s also very easy to do it wrong and damage the delicate heads. Since the production of VCRs is discontinued as of 2016, it’s even more important now to make sure that you take care of yours. New VCRs are increasingly unavailable and expensive, so it’s much better to keep the one you have in good shape.


How Dirty Heads Affect Picture and Sound

The heads inside your VCR are called read-write heads. The heads are what actually read the data from your tapes, and then transmit that data into your television screen. If these heads become dirty, over time the picture quality will degrade further and further until you clean them. At DVD Your Memories, we’ve transferred hundreds of thousands of tapes in our video transfer service to digital files and DVDs. In our experience it’s vital to the transfer quality to keep VCR heads clean. Our best-in-class video transfer is due in part to the fact that we keep the read/write heads on our VCRs very clean.


What Not to Do

Over the years, you may have seen video tape cleaners, or cleaning devices in the shape of a video tape that you insert into the VCR to clean the heads. While this method can sometimes work, it’s not really a good idea because these can actually damage or dirty up the heads even further with repeated use. Don’t use a video head cleaner, and do it by hand. Manual cleaning is safer, more effective, and will make your VCR last longer. A damaged VCR threatens your tapes, and playing family memories in a VCR that’s been damaged by a cleaning tape threatens the picture and sound quality that actually exists on the tape in addition to the one on the screen. Clean your VCR manually, it’ll keep your memories far, far safer and looking and sounding much, much better.


Items You’ll Need to Clean VCR Heads

The best way to clean the heads is a fairly easy process, but requires attention to detail to avoid damaging critical components of your VCR. The guts of your BV VCR are actually pretty delicate, so be prepared to be very careful. The items you’ll need are pieces of white paper, a screwdriver and a bottle of isopropyl alcohol. In all likelihood, you should already have these items around your home.


How to Clean VCR Heads

Getting Under the Hood

The first step is to unplug the VCR, and remove the top cover, exposing the internal components. All VCRs are slightly different, but they contain the same basic parts. Even if you have a BETA VCR or some other format, the parts ought to be the same. The image below will show you the read/write heads you need to be aware of.

VCR-heads

Cleaning VCR Heads with Alcohol

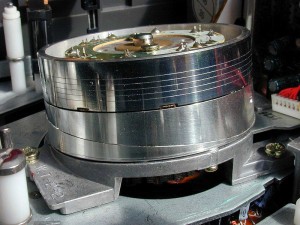
Now that you have the cover off and have visibility of the read/write head, you can begin the cleaning process. Cut your piece of white paper into strips about 1.5-2″ thick and about 4-5″ in length. Now, soak half of one of your strips with alcohol, making sure it’s wet. To clean the heads, place the wet piece of paper on the drum and rotate it counter clockwise several times. Lightly press your finger against the drum with the hand holding the paper while you spin it.

800px-VHS_head_drum_1After a few rotations, take a look at the paper and you’ll probably notice some dirt or grime left on it. Keep repeating the process with new strips of paper until the paper no longer has any dirt on it. Keep in mind that VCR heads are very delicate, and you should use a very light touch when cleaning them, or risk damaging them even further.


Put your VCR Back Together

Once you’re finished, that’s all there is to it! Put the cover back on, plug the VCR back into the wall, and enjoy! Your VCR should now provide you with more clarity until they dirty up again. You’ll know it’s time to clean it again when you see streaks, audio cuts, or tracking errors. Do yourself and your VCR a favor and clean it manually, not using a head cleaner tape.

Having said all of that, your VCR and your tapes won’t last forever, even with the best maintenance possible. Consider transferring them to digital format at any one of DVD Your Memories’ four locations in Southern California.

1 7 8 9 10 11 44