Compatibility Guarantee - All Media Transferred Local

Photo Scaninning

Photo
Scanning

Slide Scaninning

Slide Scanning

Negative Scanning

Negative Scanning

Video Transfer

Video Tape Transfer

Film Transfer

Film
Transfer

Audio Transfer

Audio Transfer

Slideshows

Celebration
Videos

Latest Posts

San Diego Genealogical Society Seminar

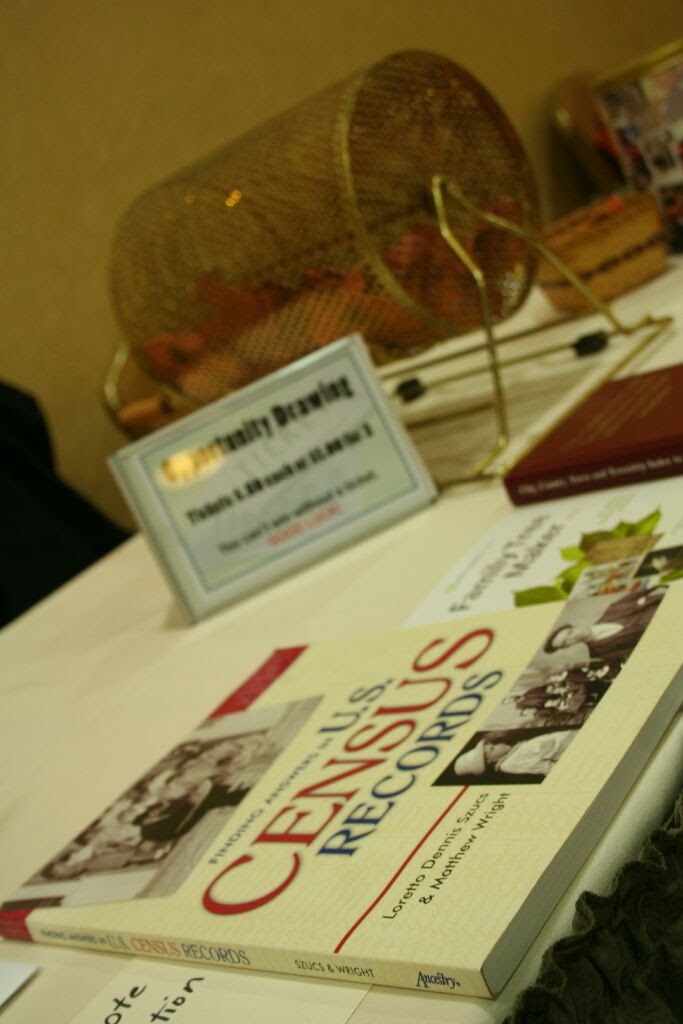
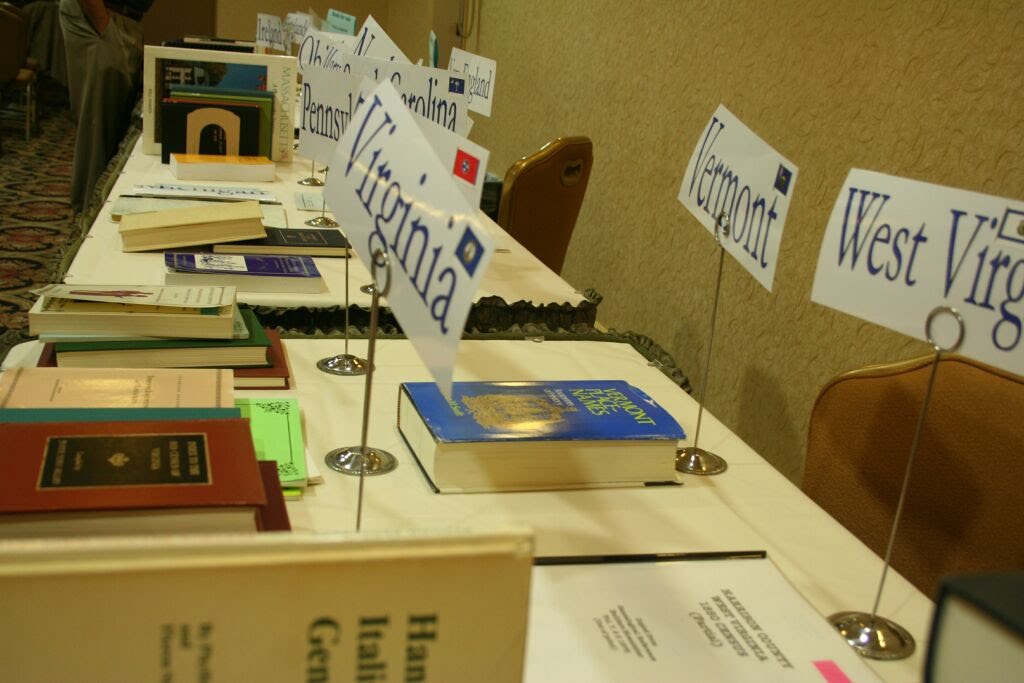
DVD Your Memories was present for the Oct. 09 San Diego Genealogical Society seminar. Established in 1946, the San Diego Genealogical Society (SDGS) promoted interest in genealogy and family history. The SDGS has dedicated itself by assisting its members and the public with their genealogy and family history research and providing educational and research opportunities for genealogy and family history researchers. The SDGE even maintains a genealogical research library and is passionate about collecting, preserving, and publishing San Diego genealogical and historical records.

At the seminar we were informed of new strategies to locate our lost relatives, and new resources for us to use in order for us to finally construct our own family trees! There are tons of new paths available for genealogical research, and more and more opening up every day.

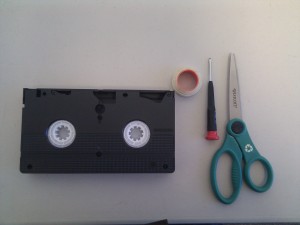
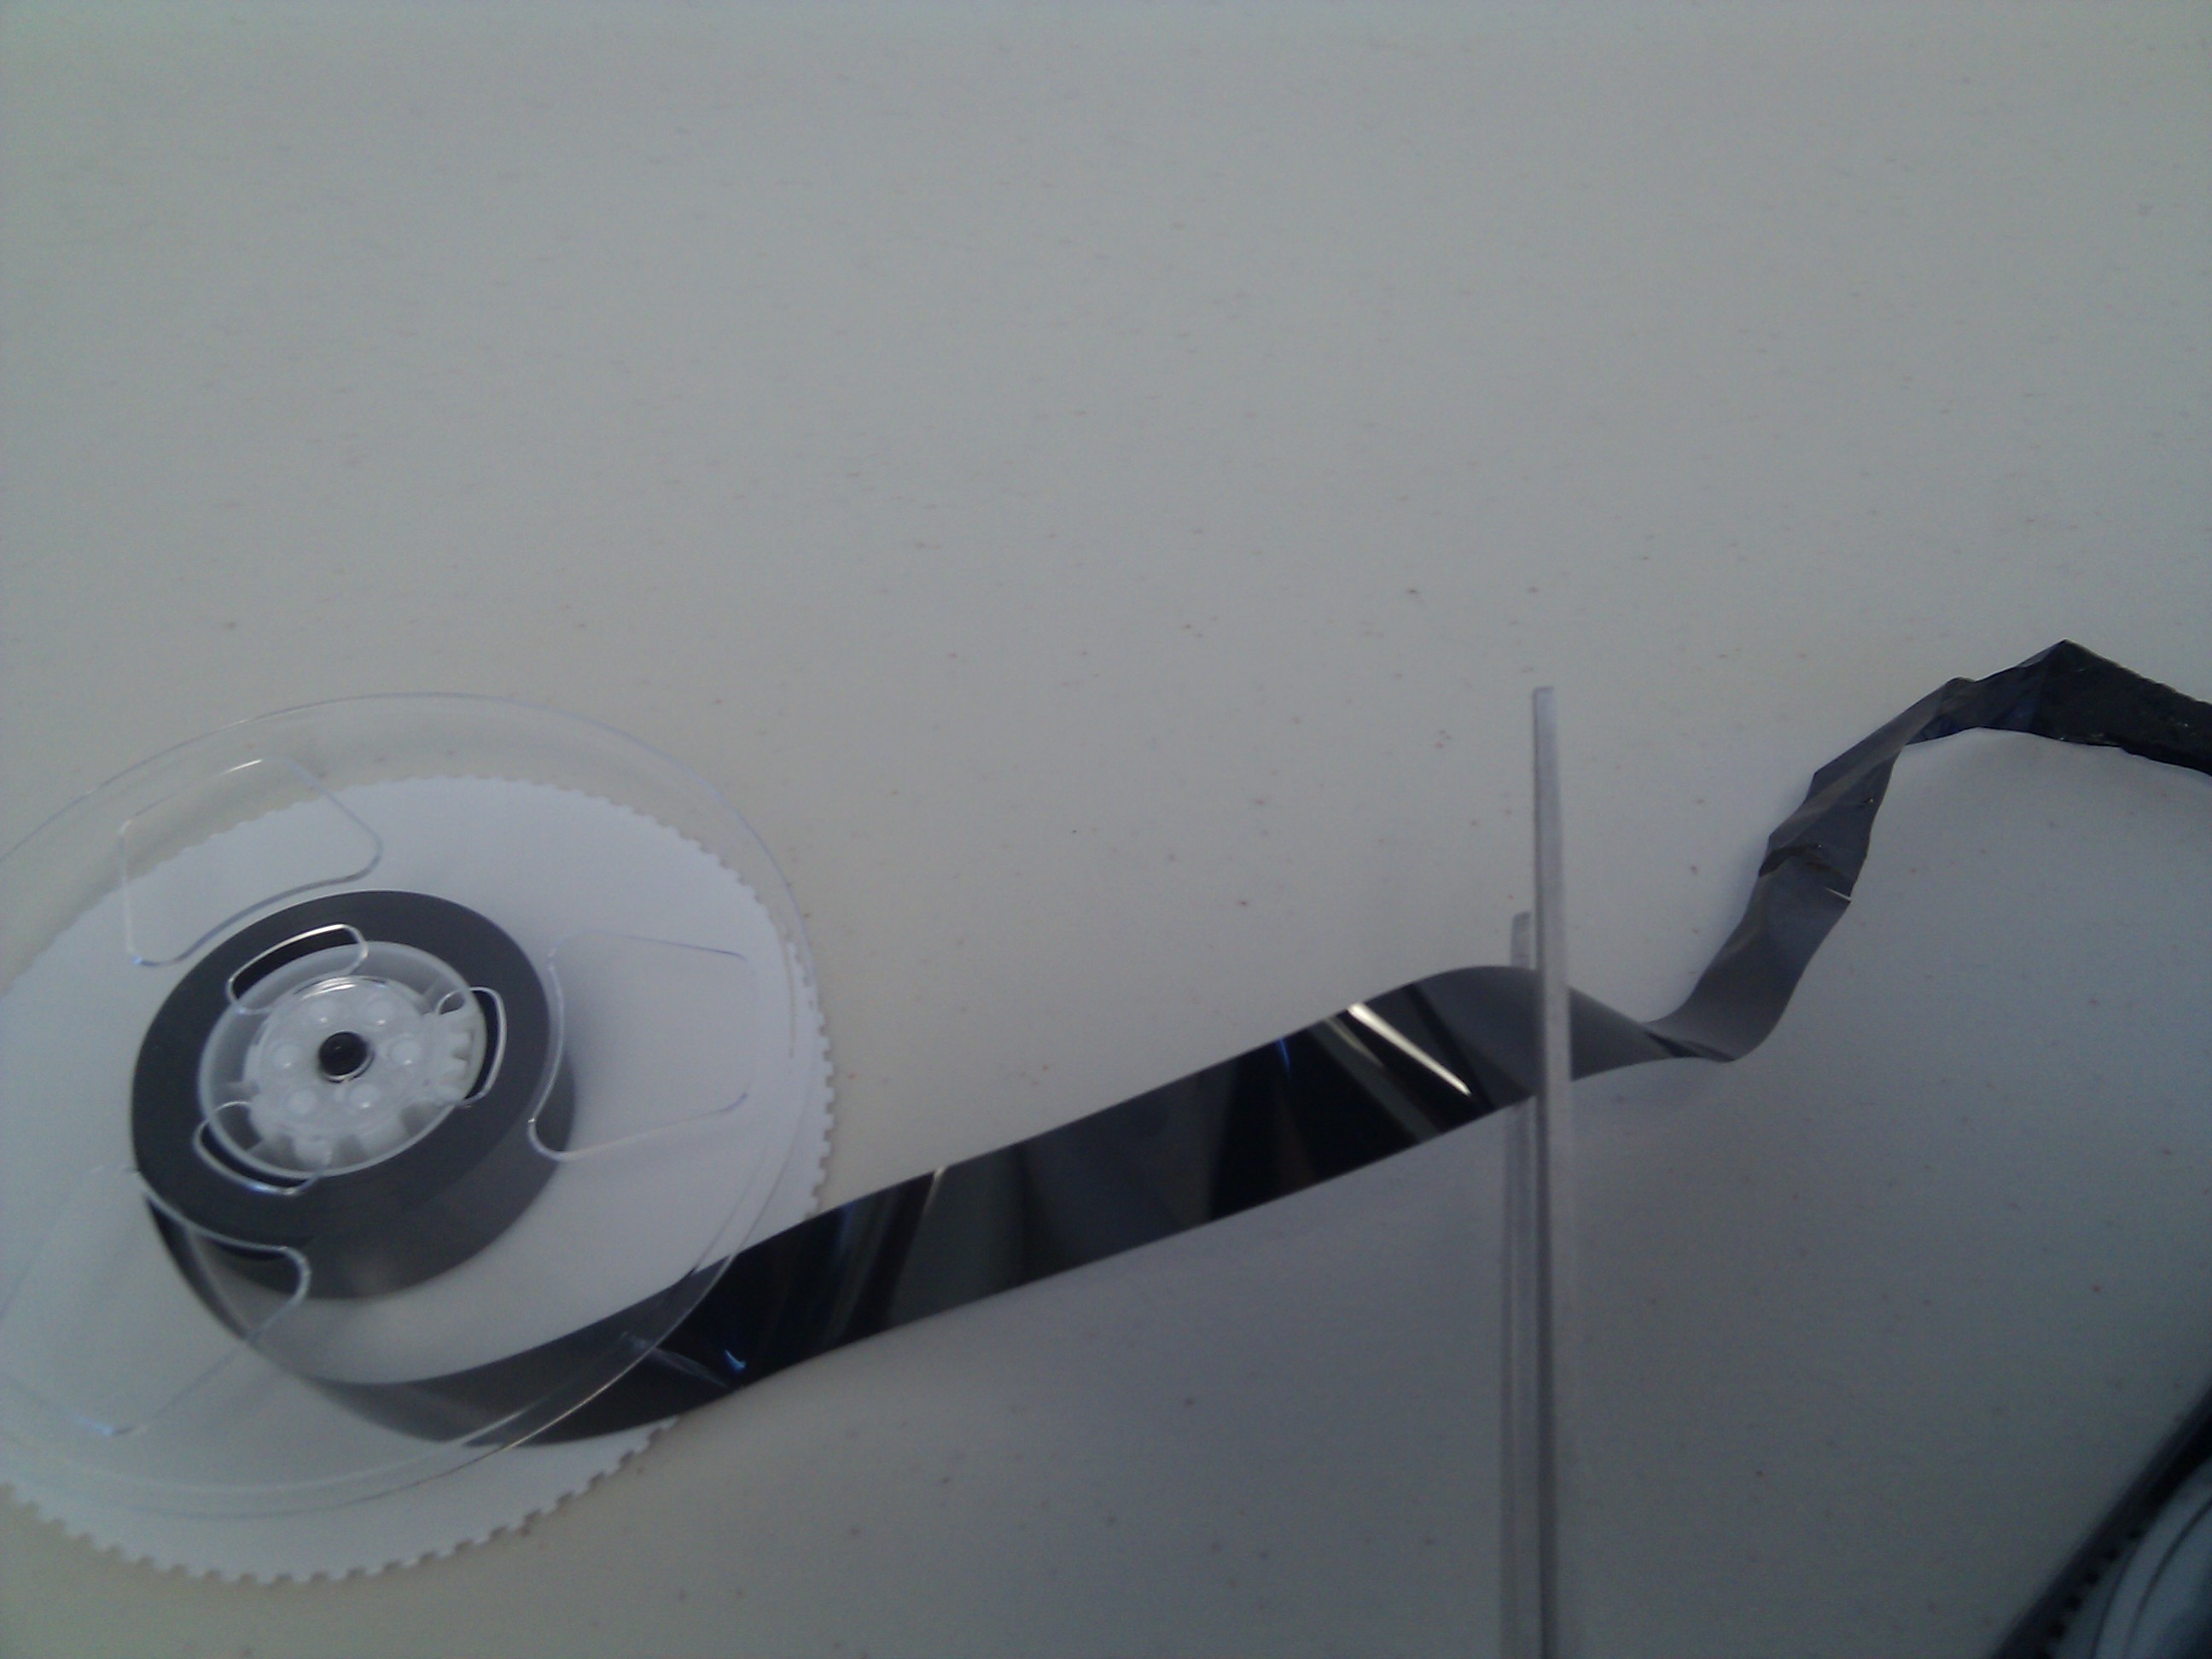
Many people interested in genealogy come through our office, looking to dig up old memories and find lost connections. We have helped countless people remember the good times, reconnect with lost relatives and relive precious moments of their lives through transferring film to dvd in San Diego, video to dvd, and audio and images to DVDs.

Is There an 8mm Video Cassette Adapter? What About a Hi-8 Adapter or 8mm Adapter?

Unfortunately, If you’re looking for an 8mm video cassette adapter to play your video 8, Hi-8 or Digital 8 tapes in your home VCR, there is no such thing. There is, however, a way to still play your tapes. What you’ll need is a camcorder or a video tape player than can play 8mm video tapes.

The Rise of the Camcorder

For their time, 8mm tapes such as Video8 and Hi-8 were great for recording day to day life such as your family events, soccer games, or your child’s first steps. These tapes were small enough to fit in a handheld camcorder, rather than a large, bulky shoulder-mounted camcorder which VHS tapes often required. Millions of consumers soon found the benefit of switching to the smaller sized tapes, as they offered similar recording times and even better quality picture than what VHS could offer. To counter this, the JVC company released the VHS-C tape (or compact VHS), which had the advantage of both being as small at the 8mm variety, and the capabilities to be used in an adapter to play on peoples VCRs.

video tape adapter

Where is the 8mm Video Cassette Adapter?

This ended up being the one major downside to these Hi-8 and Video8 tapes. It was just not quite as simple to play the 8mm tapes back on your home TV as it was a VHS or VHS-C tape, as most homes were then equipped with VCRs for easily playing their VHS tape collections. The camcorders themselves, however, offered an easy hookup to most televisions via RCA cables, which allowed people to watch their footage on their TVs with little else to set up. Well, after a couple of decades, not many of us still have held onto the old 8mm video camcorder. Now, if you don’t still have your old camcorder, you have essentially lost a way to play or even to see what’s on your old 8mm tapes. When this happens, your whole collection of recordings are nearly be rendered useless unless you transfer the tapes to DVD or to your computer as digital video files.

You might then think to yourself, “Wait, isn’t there an 8mm video cassette adapter for these tapes that will let me watch them on my old VCR?”

Tips on Watching Your 8mm Tapes

Unfortunately, the answer is no because the tapes are simply too much of a different format and the technology is too different to be cross compatible. Just know that VCRs are only capable of reading VHS/VHS-C tapes. In today’s age, it can be a challenge to find out what’s on your old tapes, but here are a few ways to do it:

1. Find an old camcorder on eBay or craigslist that support the type of tapes you have. This will then allow you to hook the camcorder up to either your television (for viewing) or your computer (for capturing/editing)

2. Find a standalone deck that plays 8mm tapes. Please note that these are much more expensive than camcorders, but also allow additional dubbing and editing functionality.

3. If you’re unsure what kind of tapes you have, or can’t find a camcorder, you can always bring them to your local DVD Your Memories for our video to DVD transfer in San Diego, Irvine, Los Angeles or Denver. Plus, one of our video technicians can let you know which types of tapes you have, and also provide you some options for capturing or viewing your tapes.

Betamax to DVD, Where to Convert Your Betamax Tapes

If you’re old enough, you may remember the old Betamax vs VHS war that took place back in the 80s. During this brief period of competition, consumers had the choice of either Sony’s Betamax, or their rival, the VHS tapes produced by JVC. Due to many economical and marketing factors, the Betamax format was swiftly overcome by the rising popularity and simplicity of the VHS tape. Many frustrated consumers lost entire video collections due to the fact that it was becoming harder and harder to find a working Betamax machine as time went on.

Here’s a couple of sample Betamax ads that were going around the at time of the format war, to give you a feel of the sort of marketing going on.

Betamax Conversion
Betamax to DVD

Nowadays, many people aren’t even aware that their Betamax tapes are still watchable! Most Betamax tapes that have survived this long, are in fact still playable as long as they were stored in relatively ideal conditions. As long as the tape plays in one of our Betamax decks, then we’re able to transfer the tape to DVD or other digital format. Even if it doesn’t play, we still have the ability to repair Betamax tapes, or try everything in our power to extract video from that tape!

Today, with the help of computers, we’re now able to create digtal copies of all of your old Betamax tapes. By using our Betamax to DVD or Betamax to Hard Drive transfer services, we’re one of the few companies who can provide high quality DVD movies of all your old Beta tapes. We can even convert Betamax to AVI files or any other type of video format. Just image seeing your 30 year old tapes appearing on Youtube! Come on in and relive the memories with our Betamax to DVD Irvine, and Betamax to DVD San Diego locations!

DVD Your Memories and National Preparedness Month

September is the National Preparedness Month. The National Preparedness Month encourages american citizens to take a few simple steps to better prepare for emergency situations in your home, workplace, or communities. This awareness month is sponsored by the Ready Campaign in partnership with Citizen Corps and the Ad Council. September 2010 is the seventh annual NPM. This year will focus on encouraging Americans to work together to take concrete actions toward emergency preparedness. We are encouraging all Americans to join the readiness team and truly help themselves, their neighbors, and their communities be Ready.

By joining the coalition, DVD Your Memories has agreed to help promote emergency preparedness throughout September. We are more dedicated than ever to preserving every family’s precious memories. No matter what kind of media you have, you can be sure that once transferred on a digital format, it can be easily reproduced and copied in order to prepare for any sort of emergency situations. As many residents of Southern California are aware, the destructive fire season is approaching very quickly. Now is the perfect time to protect your family video tapes or photos, and preserve them for lifetimes.

8mm Film Transfer Process – Film to DVD

When it comes time to transfer 8mm film to DVD in San Diego, you may be wondering just how it’s done, and what the best quality transfer is. The type of 8mm film transfer service that is performed on your footage can make a world of difference in the end. It’s best to your own research to determine exactly what you want to get out of your film transfer, whether it be quality or cost. Many of the companies out there today will use cheaper, lower-quality methods such as a real-time transfer.

Real-Time 8mm Film Transfer

Film is naturally around 15-18fps, and when it’s telecined to 30fps video, you will get some blending of frames, which often creates a fuzzy or soft look to the picture when watching in real time. Many times with older film, you’ll notice that there are much more color problems with a real time transfer as opposed to a frame-by-frame transfer due to the way film naturally shifts in color over time. Also with this method, your frames will often be cropped off so you lose a lot of image data, and you’ll also notice some flickering when watching due to the frames being captured in real time.

Frame-By-Frame Transfer

The Premium frame-by-frame film transfer is by far the highest quality film transfer available today, as each full frame of film is individually transferred one after another.

Our retrofitted projector is one of the few in the world that has a manually adjustable brightness control which can make under or overexposed scenes look much better. We use this machine for both Film to DVD San Diego, and Film to DVD Orange County orders. The transfer technician will watch your film on a standard monitor as well as a waveform monitor and adjust the back-light brightness accordingly. This type of brightness adjustment is a custom fitted attachment, and is not available at most other companies. With a frame-by-frame transfer, you are then easily able to manipulate the film once it’s been captured to your computer.

Check below to find out more information about our great Film to DVD services:

Film Transfer San DiegoFilm Transfer Orange County

How to Repair A VHS Tape, a Guide

VHS Tape Repair Guide

Video for VHS Repair

This video guide will detail all the steps for repairing your VHS tape:

For repairing audio cassettes, refer to our How to Fix an Audio Cassette guide.

Broken VHS Tape? No Worries!

For many families, video tapes contain some of the most precious memories they have. Since the advent of the camcorder, millions of people worldwide have been filming important events in their and their family’s lives. At some point, many of us have had a tape break, or a VCR eat up their video tape, resulting in a tape that simply won’t play normally anymore. At first glance, you may think all hope is lost, and your tape is gone forever…but it’s actually very easy to repair video tapes yourself! After reading this guide you will have the knowledge to not only repair VHS tapes, but repair video8 tapes, repair betamax tapes, or even repair MiniDV tapes!

Tools You’ll Need

Having worked with large amounts of older media for some time now, I’ve seen nearly every problem a video tape could have. The most common problem is that the tape simply snaps or breaks in the middle somewhere. For this guide, I will be demonstrating the repair of a VHS tape, which is the most common tape repair I see. To perform your own repair, you will need a phillips-head screwdriver, some splicing tape, scissors, and a steady hand. If splicing tape is hard to come by in your area, it’s easy enough to find on Amazon.

VHS Repair Step 1

What’s Broken in Your Tape?

First inspect the tape, look under the flap, and see if the tape is damaged. If the tape has split, the evidence will be obvious as there would either be a mess of garbled up tape:

VHS Repair Step 2

or no tape visible under the protective flap:

VHS to DVD San Diego

How to Take Your Tape Apart

Once you see that the tape is indeed split, the next step is to open the casing of the VHS up. For this step you will need a standard sized phillips-head screwdriver. The typical VHS cassette contains 5 screws, one at each corner, and one in the middle.

Video Transfer San Diego

Once you remove all 5 screws, turn the tape OVER, so the front is facing you, and then gently rock the casing back and forth to lift it up from the base, taking care not to disturb the internal components too much. If you labeled your tape with a sticker, it may need to be cut down the middle in order to separate the two halves of the casing.

The casing should now look like what I have in the image below. Take special note of where the internal components are located, in case anything should get bumped loose or knocked out of place. Taking a digital photo of the opened case, or having a diagram will help you with this.

Splicing a Video Tape

The next step is to give yourself enough “clean” tape to work with. If the tape is mangled, it’s best to simply remove all portion of tape that has been damaged. That way you’re left with nothing but clean undamaged tape. Unwind the tape from the reels a little bit to give you about 6 inches on both sides. You may need to gently lift the reel from the cassette in order to pull some of the tape out. Once you have the two ends of tape, take some scissors, and ensure a clean cut. It’s much harder to splice a tape with a frayed or jagged end.

Cut a small strip of splicing tape (scotch tape can and will work, just know that it’s much thicker and harder to work with than splicing tape and not advised) Now the trick is to stick both ends of the video tape as flush as possible against the splicing tape, it’s best to splice the underside of the videotape, but not essential.

Now your goal is to remove as much of the excess splicing tape as you can without removing the actual video tape. You can use an x-acto knife if you prefer, but I just use scissors. You’ll need a pretty steady hand to perform this step successfully. Also, be sure you’re not exposing any of the tape’s sticky side, as this will gum up tape heads.

Your video tape should now be all spliced and almost as good as new. Now you need to run the tape through the pinch rollers and wrap it around the top of the cassette. Use the images below as a guide for how the tape runs through.

Putting your VHS Back Together

The last step is to put the casing back together the same way you took it apart. Gently rock the top part of the casing on (You may need to hold the protective flap up as you’re fitting it back on) and then screw it back together.

Voila! You have, hopefully, now just repaired your video tape! Remember, if your tape is severely damaged, it’s best to bring the repair job to a professional Video Tape Repair Service which has experience with all types of different media, and knows the best way to go about fixing them.

Still need help? Visit our video tape repair page for more information.

Convert your VHS to Digital

Tapes are easy to damage, and often difficult to repair. DVD Your Memories has been providing the best solution to this problem since 2006. We have four locations in Southern California that have been the best in the digital transfer business for nearly 20 years. Our VHS to digital services are consistently the best-reviewed in their respective areas. As of 2016, the production of new VCRs has officially stopped, but digitized tapes don’t need a VCR, and they never get damaged.

Wedding Slideshows in San Diego – Custom Video Creation

A custom produced slideshow movie can be a great addition to your wedding party. Wedding slideshows are intended to briefly display the lives of both the bride and groom in a touching way. Typically, wedding slide shows are created in three parts. The first part typically displays the images of either the bride or groom, usually starting with baby pictures, and then more images of them progressively older. After both the bride and groom’s images have been displayed, the third part consists of images of both the bride and groom after they have been together, and will usually end with a shot from the wedding party. Many people create slideshows for weddings in order to remind them of their special day and to pass out to the families that attended as well.

Wedding Slideshows San Diego

The first step to creating a slideshow for a wedding is to get ahold of the images you would like to use in the presentation. If the images are not digitized, or scanned, you first must either scan photos yourself, or use a professional photo scanning service in San Diego. Once the images have been digitized, they’re now ready to be inserted into the slideshow creator. There are tons of slideshow creation programs available and most video editing programs come built with an easy slideshow creation tool.

The next crucial step of the wedding slideshow creation process is the music selection. Selecting the right music for the slideshow can really help make it that much better. With wedding slideshows, you generally want to avoid songs with controversial or irrelevant lyrics, such as a “break-up song”, or heavy metal music as it would probably confuse your audience and perhaps give them a headache! Just make sure the music is in good tastes, and choose a song that has significant meaning to the bride and groom.

When creating your first slideshow, it’s easy to get carried away and end up with a slideshow that’s just too long to be practically shown at a party. We’ve found the ideal length for a wedding slideshow to be 2-3 songs or 7-10 minutes long, and each picture should be shown for about 7-10 seconds each. Any longer, and you may start to bore your guests! It’s best to think of the slideshow as a small supplement to the party, not the main attraction.

1 38 39 40 41 42 44