Compatibility Guarantee - All Media Transferred Local

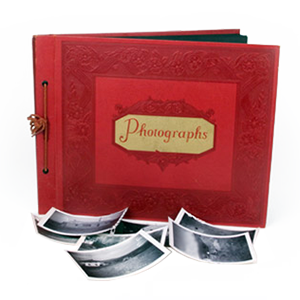
Photo Scaninning

Photo
Scanning

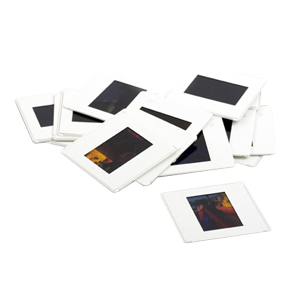
Slide Scaninning

Slide Scanning

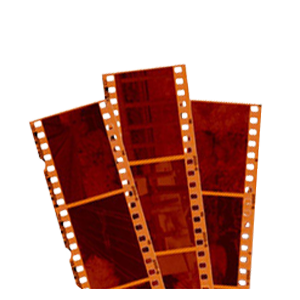
Negative Scanning

Negative Scanning

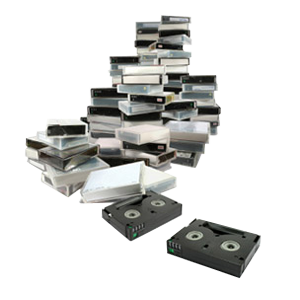
Video Transfer

Video Tape Transfer

Film Transfer

Film
Transfer

Audio Transfer

Audio Transfer

Slideshows

Celebration
Videos

Latest Posts

Digitizing Your Scrapbook Pages


Scrapbook Scanning in San Diego

Scrapbooking is a hobby that, in recent years, has been growing in popularity. The basic idea is to preserve memories in a more fun and creative way. The pages often contain multiple forms of media such as print, photos, newspaper clippings, to help the viewer get a better understanding of the mood and feelings associated with the memories. Scrapbooking is a relatively inexpensive hobby that can certainly brighten anyone’s day.

Recently, digital scrapbooks have also begun to gain popularity amongst people of all walks of life. Creating digital scrapbooks versus traditional cut-and-paste scrapbooks can save you some time and expense, as well as provide a much easier route to share with family and friends through the internet. However, many people who have been scrapbooking long before the internet was around, have many books and pages that they would love to get digitized, but have no idea where to start.

One of the common problems with getting a scrapbook digitized is that when a scrapbook is created, in order to create enough space for all of their cherished memories, scrapbookers will often use a larger-sized paper, such as “12x”12 pages, which are just a bit too big to scan on many traditional consumer flat-bed scanners. In recent years, more and more people have been scrapbooking on 8×8 paper, which makes it much easier to digitize later, if needed. If you do have a larger format scrapbook, and you happen to have access to a large format scanner, digitizing your scrapbook will be much easier!

If you don’t have free access to a large format scanner, don’t worry, there are still other great methods to scan those larger pages in. If you have a flat-bed scanner, one common method involves photo scanning a half of a page at a time, and then taking both “halves” of the page, and digitally stitching them together using image editing software. Auto-stitch is a great, simple program that can easily handle all of this. There are a few tweaks you should be aware of before starting with this. First, if the top and bottom of your page look warped or bent, try disabling the “Auto Straighten” feature in the options menu, as this has mostly to do with creating panorama images. Also, make sure to set everything to 100% scale. If you have the equipment, and time to scan the pages, this is a cheap, yet effective way of digitizing scrapbooks.

If you do not own a scanner, nor have any access to one, there is another method that you could use to digitize your scrapbook. You would need to obtain a digital camera, preferably a high quality model, and then simply take the highest resolution photo you can of your scrapbook page. Taking pictures of your pages with your digital camera is often the quickest and easiest way to digitize, but can also suffer from quality loss. Many factors can hamper the quality of your digital image such as lighting, poor quality camera, dirty lens, movement, etc. For scrapbook photo taking, it’s best to line up the page as squarely as possible, with no angle, and make sure to go with bright, indirect light, with the camera’s flash turned off.

If you are a busy person, or in a rush, or if cost is not an issue, there are many professional San Diego image scanning services who will scan the pages using their in-house large format scanner, which in turn, would provide the highest quality image for you to share or archive. If you do need a scrapbook digitized, do a little bit of research, and discover the best method for your particular needs.

Converting LP records to CD

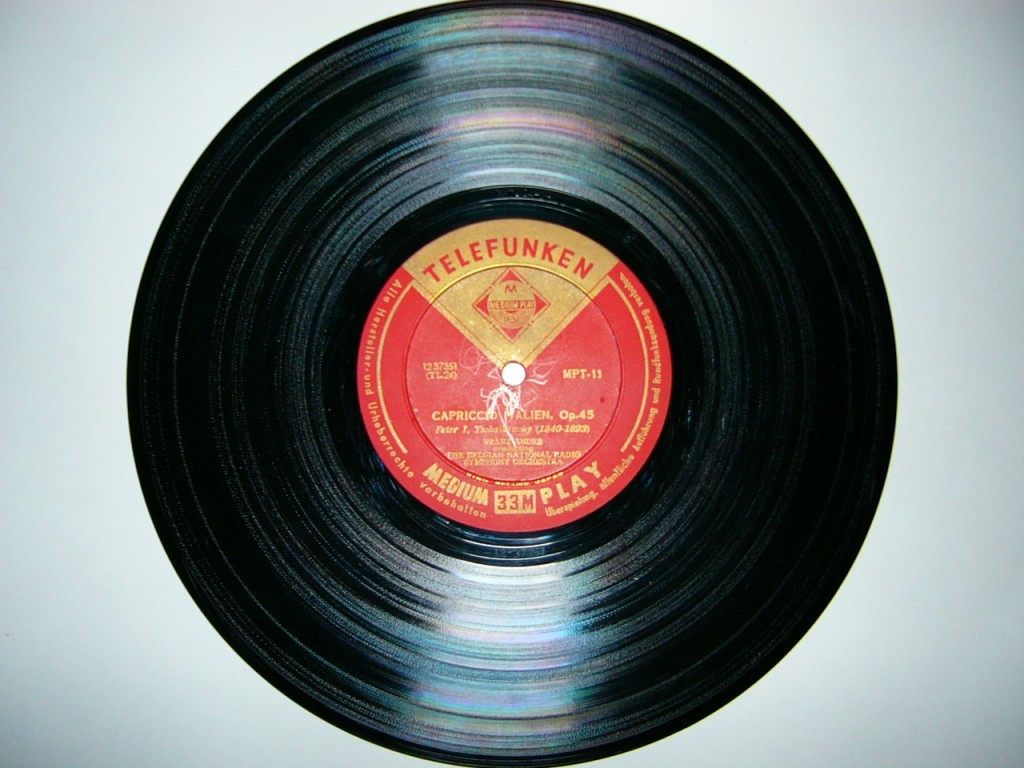
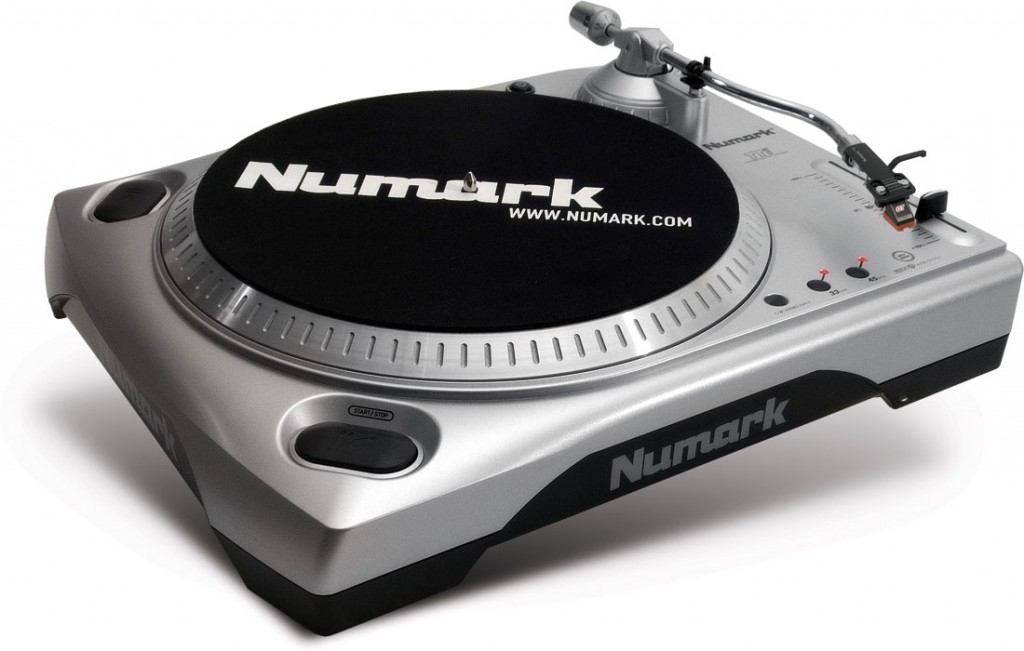
A gramophone record, also known as a phonograph record, vinyl record, or simply record, is an analog sound storage medium consisting of a flat disc with an inscribed spiral groove. The groove starts at the edge of the disc, gradually moving toward the center. This was the primary recording medium for much of the 20th century, later succumbing to the rise of digital media by the late 80s. Many artists during the 20th century would have their work recorded only onto vinyl record, never being re-released as digital. As a result of this, it’s often difficult to obtain more obscure artists and compilations, as many records today cannot be found digitally on a CD or in MP3 format. Many times, the only solution involves manually transferring the existing record to a digital media file. You will need to obtain a few pieces of equipment prior to transferring. You will obviously need to get a turntable of some sort. I recommend going with a usb turntable as it has an easy to use, direct connection to a computer with a usb connector. Numark, for example, makes a great usb turntable at a reasonable cost.   You will also need a computer with an available usb port, computer speakers, audio editing software, and a cd burner and blank media (if planning to put onto a CD). The first step of the process is to locate which album or record you would like to have transferred. Before beginning the transfer process, it is wise to inspect the record for visible damage such as cracks, warping, or deep scratches, as well as noticable dirt, dust or other debris that could get inside the grooves. These foreign objects can result in an undesireable popping or cracking throughout the record. If the record is has a considerable amount of dirt or smudging, there are several commercial products available that does a great job at cleaning the grooves. Remember that a clean record will save you time and effort in the restoration process, as well as provide much better results. Once the record has been sufficiently cleaned up, it’s time to begin the transfer process. Once the turntable is correctly hooked up to your computer, and the software installed, you should be ready to start recording. For the recording application, I recommend using Audacity, a free but powerful audio editing software, we typically use this application when doing LP to CD transfer in Orange County. Place the record onto the turntable, and gently place the stylus on the outer rim of the record. Click record button on audacity to start recording, then press play on the turntable and once the audio kicks in, you should notice peaks forming on the timeline in audacity. If you see sound recording, then sit back, enjoy, and wait for the record to finish. Once finished, click the stop recording button, and you should have an audio file of the record you just recorded. From here, anything is possible, but I would suggest running Audacity’s built in pop and click removal tool, which greatly diminishes the sound of popping and clicking which is common in most old records. After you have cleaned up the sound to your liking, all that is left to do is export the file as a wav, or if preferred, an mp3. Now, if you would like an audio CD of the record, all you need to do is load up your favorite CD burning software and import the recorded .wav file you just exported. From there, simply burn the CD and you are ready to go. We are always doing record to cd in San Diego and Orange County, so stop in or give us a call!
How to Format a Fat32 Thumbdrive or portable to NTFS

A common problem we get while doing video transfers in San Diego is that people are having trouble putting large files (4gb+)  on their portable drives. Thumb drives and small USB-powered hard drives are an extremely convenient way to quickly store, transfer or manage small amounts of data. Fat32 is a very compatible format with one major limitation, it cannot hold any single file greater than 4gb in size. This can pose problems if you decide to some day to perform a San Diego video transfer to hard drive, as any file over 15 minutes or so will not be able to fit onto a Fat32 drive. These days, more and more hardware is supporting NTFS over the traditional Fat32 format for storage devices, which makes for less of a headache when switching formats.

Keep in mind that Mac computers are not equipped to fully handle NTFS without 3rd party software such as MacDrive or Paragon. Here is how to format any thumbdrive or Fat32 drive to NTFS: 1. Click Start->Control Panel then click System icon 2. Cick the Hardware tab, then click Device Manager 3. Click Disk Drives, and then find your USB drive on the list and double click it. 4. Change the settings from “Speed” to “Performance” 5. Go back to your desktop and click “My Computer” 6. Right click the USB drive you want formatted and click “Format…” 7. Click the drop-down menu and select “NTFS”. Click format and you are all set. Utilize these steps to ensure that you will have NTFS usb drive!

How to Determine the Best Way to Digitize Your Slides

Gather and Organize
I’m sure somewhere in your possession, like most people, is a box or two of old slides, photos, or negatives collecting dust in an old cabinet or drawer. For this entry, I will focus on slide scanning in San Diego. Generally, people take pictures to capture a particular special moment or setting that can be preserved and shared for generations. However, as time goes on, these forms of media can and will degrade. As you may know, the best solution to this problem is to somehow find the time or money to get all of these images digitized. Depending on the quantity of images, this can be quite a daunting task for any individual. With the right game-plan, and preparation, it could turn out to be a fun, engaging project that will bring your whole family together.

Slide Scanning Los Angeles

The first step in the process is to determine how many of your slides you wish to have scanned. This is a very important step, as it will help determine which route would be best for you, whether it be purchasing an accessory for your home scanner, rent or purchase a brand new scanner, or to simply have a digitizing service, transfer them for you.

The next huge thing to consider before proceeding is to determine how much time you actually have to devote to the project. For example, if you have a full-time job, a busy family life, and 1,500 slides that need to be scanned in 8 days for Grandma’s 80th birthday, buying a manual feeding scanner isn’t the most practical route.

Note: Resolution or (DPI) is the number of distinct pixels in each dimension that can be displayed. So, roughly, a 35mm slide has the approximate resolution of that of a 13 megapixel digital camera image (about 3,600 dpi). So if you scan a slide at less dpi, then you limit what you can do with the final image compared with the slide. On the contrary, if you are digitizing to send to family and friends, then 3 to 6 megapixels (2000dpi) is plenty for the average 4×6 photo print. However, if you plan on blowing the images up to 8×10, 11×14 or larger, you need to start with as big a digital image as possible.

Using a Scanning Service
This is a great solution for a person with a lot of slides, a busy lifestyle, and an eye for quality. Typically digitizing companies will use the most high-end equipment on the market to scan your slides. This can be extremely beneficial for people who want to preserve their slides at the highest available quality. DVD Your Memories also has a dedicated image scanning department and technician who will work on your slide transfer in Orange County or San Diego which provides for much faster turnaround times compared to what you can get accomplished alone.

logo

Renting a Scanner
Renting a scanner can be an effective method to process any number of slides. The rental will generally consist of a Nikon CoolScan of some kind, and will often come with the bulk slide loader, making large orders much easier to process. However, it may be difficult to pin down a place that will rent the equipment to you. Trying local photography stores and studios may be your best bet to start looking. Renting a scanner can cost up to $200 per week, not accounting for time learning to use the machine and software, which makes this option best for people who have working knowledge of the equipment.

Buying a Scanner
Before purchasing a brand new flatbed, check to see if the flatbed scanner you already own can scan slides and negatives. Go to the manufacturer’s website and search for your scanner model and any accessories it may be combined with. Typically, the accessory you would be looking for would be a new top cover that has a scanning lamp in it and is glass on the bottom of the cover, compared to the typical plastic over foam. When you place slides or film on the glass scanner bed, they are scanned with the lamp in the top cover, and the image is captured in the lower array as normal. There may also be some slide and film holders that may or may not come with the new top cover. If you do find you can buy the accessories to get the job done, then all you need to do is decide if the money and the time to do the job, fits with your needs. If you do manage to find a facility that will rent out equipment, this is a great method to get your slides to dvd in Orange County.

There are also dedicated slide and negative scanners available to consumers. For this article I will break them down into three categories; Low-end, Medium, and high-end.

The low-end dedicated scanners are usually equipment that will actually take a 3-5 megapixel digital image of your slide rather than scanning it. These products typically cost around $100, and are much faster at transferring slides as it takes a digital image rather than a full scan. Ion Slides to PC is an example of a low-end slide scanner.

The middle ground is a very interesting place. The bottom of the middle ground, say around $250 to $350, is occupied by some compact scanners that are fully manual, but some offer scan resolutions as high as 7,200 dpi. Plustek OpticFilm 7300 is an example of a middle ground scanner.

The high end of the 35mm slide and film scanner market has traditionally been occupied by the Nikon Coolscan, in its many incarnations, for a very long time. So if you want to scan at 4,000 dpi with possibly the best optics and scan quality you can find, you will part with nearly $1,100, and if you want to use a 50 slide batch processor, add another $500 to the bill. Nikon Supercoolscan 9000 is an example of a high-end scanner.

Keep in mind that most software bundled with scanner products are mediocre-at-best. Play around with the included software, but be aware that there are many, many programs available that work much better than what’s put in front of you immediately. Take some time to do some research, and seek out the most reliable and effective software for your needs.

Final Thoughts
Lastly, ask yourself if you ever plan to take film photos again, or if you are planning to just stick with digital transfers from here on out. If you have no foreseeable plans in the future to ever use film cameras again, it may be more cost and time effective for you to seek out a service to digitize your images, rather than buying a scanner and equipment, learning to use it, and spend time scanning each image.

After you are done digitizing your entire slide collection, you may be wondering what in the world to do with your boxes and boxes of old slides. Some people will throw them out, some will put them back in storage. Before doing anything, I would recommend backing all of your images to an archival-grade DVD or two, in addition to a hard drive. So, dumping you originals is a personal preference. The only issue you may face in the future, is if you did not scan at a high enough resolution for large prints, and down the road someone wants large prints. If you had the originals you have a choice to rescan it at higher resolution to make the big prints of higher quality. Don’t forget to stop by your local DVD Your Memories store this holiday season for some great gift ideas such as;  slide scanning in Orange County or if you have lots of old 8mm, 16mm, or Super8  film, we also offer film transfer in San Diego and Irvine.

A Brief History of VHS Tapes

We all had them at one point, but what are these things, and where did they come from?

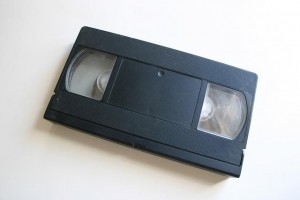
Video Home System (VHS) tape and the VHS recorder were developed by a team at the Victor Company of Japan (JVC) in 1976. Videotape is a linear system of storing information. VHS originally stood for Vertical Helical Scan, a reference to the recording system used. Later in 1976, the VHS format was introduced by JVC and Panasonic.

Although its primary rival was Sony’s Betamax, there was a brief period of time when other companies such as Philips, MCA, and RCA produced different tape formats and disc systems. All of these systems failed to capture the market and never became popular. VHS won out due to its many advantages including, the ability to rewind and fast forward at quicker rate, the unthreading system, and more importantly its longer recording time. VHS videocassettes peaked with the sale of The Lion King, which sold more than 30 million copies in the U.S. alone. The VHS format continued to thrive for two decades until the invention of the DVD.

By 2000, DVD had become a much more popular and efficient tape format. DVD sales rapidly surpassed VHS in the United States and from the time DVD came had reached the end of its time on the scene, VHS tape experienced a rapid decline. The last VHS tape that was mass-produced was The History of Violence. By 2005, the use of VHS tape for feature films had stopped. VHS videocassettes had been discontinued for release to the public. VHS had a long and prosperous run. By the end of 2005, there were still an estimated 90 million machines that played VHS tape and were still functioning. VHS tape had a long career and its impact will continue to be felt as the next generation of hi-def formats takes its place in recording world.

Don’t forget to get your old VHS to DVD in San Diego or Orange County today!

Deciding What Hard Drive is Best For Your Media Transfer Needs

Often times, I come across people with all sorts of older-type media, such as VHS tapes and Film, who decide that after all these years, they want to take their family’s media, archive and consolidate it,  and even perhaps do some editing to create a fresh new video or compilation to share with loved ones. Many times, people simply have no idea what do to with it or who to give it to.

One simple method I recommend to everyone, is instead of putting that video to DVD, take all that old stuff and put it on a Hard Drive!

With hard drives continuing to evolve as technology moves forward, it will only get easier to transfer your files as time goes on. You may be asking yourself, “What kind of hard drive is the best solution for me and my particular video transfer San Diego project?”

The answer to this, in part, depends on what you are planning to do with the media once it’s on the drive?

If you plan do to some video editing, for instance, you need to make sure you have free space equal or greater than what is currently on the drive.  For instance, if you have 250gb of video and plan to do some editing, it is recommended to get a drive with at least 500gb to compensate for renders, clips, snippets, and whatever else you may try along the way.

If editing is way over your head, and you simply want to archive your media onto a hard drive, then you just need to roughly figure out how much space you’re going to use. When video is captured as uncompressed AVI, it typically runs about 13GB per hour of video. You can use this basic rule of thumb to give you a rough idea of what to expect when it comes time to purchase a suitable drive.

There are also a variety of different types of hard drives. Some of the most common drives include flash or thumb drives, portable USB hard drives, and desktop external hard drives.

Flash drives (or thumb drives) are small, portable solid-state memory drives which currently range from a few megabytes to 256GB. They are often referred to as the “new-age floppy disks”, only they are smaller, faster, more durable, and are capable of holding thousands of times more data.  These are best for transferring small files between computers, or for people with small San Diego video transfer clips or scanned images.

USB-powered portable hard drives are smaller, portable 2.5″ drives intended for laptop and embedded devices are slightly more expensive in cost per GB compared with larger capacity 3.5″ drives. They do not require an external power source, which can come in handy if traveling or somehow unable to find an electrical outlet.

The standard external hard drive is typically a 3.5″ SATA hard drive in an enclosure with a USB connector. It can hold a great deal of data from a few megabytes to several terabytes. This is great for people with large amounts of data to be transferred.

When it comes time to transfer your family’s old images and video, instead of immediately thinking, “Wow let’s turn this VHS to DVD in San Diego!” It always helps to do a little bit of research and find out the best solution for you.

Super C Video Conversion Software- Full of Options, Supports Most File Types, No Spyware, and Free!

During all of my years of working with audio and video, not once have I come across a conversion program more versatile, more configurable, more helpful than Super C. You can get very specific with what you want/need (which may confuse some people, but remember, Google is your friend!) It has a small resource footprint. You can batch convert multiple files. There are so many options!

I use Super C all the time. One of the features that I particularly like is that you can have it save your new file in the same folder as the one being converted automatically (without a “Save As” prompt). This speeds up the process, as I no longer have to tell it to do this every time. Also, it makes it very easy to find where the files are (instead of searching for some seemingly random default folder). You can also change the bitrate, framerate, dimensions, decoder/encoder combo, boost or diminish volume, exclude audio or video, create animated gif, crop or pad video dimensions with black, encode only a portion of the video, take jpeg snapshots at a certain point, and on and on and on!

It is particularly useful for creating web-ready videos or videos for hand-held devices. It has preset standards for your iPhone, Zune, Nintendo DS, PS3, and PSP. It also has presets for VCD, SVCD, DVD (VOB), 3GP (for cell phones), M-JPEG (for digital picture frames), and “Sequence Of Images” for a “frame dump” of the images that compose the video itself (this one requires a lot of space/processing power for long videos). It also seems that for the “Sequence Of Images” feature, the image quality is pretty good compared to other programs with screen shot/frame dump capabilities. All in all, it’s pretty amazing what it can handle.

Every once in a while I try to do something it won’t do, but every time it’s been because I had a setting incorrect. I just Google the error, and someone before me who had the same problem has already had the answer supplied. Typically it’s the decoder (you change it to a different one, and “TADA!” it works again).

In the world of  San Diego video transfer and conversion, there are many many programs and tools out there. It’s very nice to have just ONE that works for almost everything, and doesn’t install a bunch of junk! I’m sure you understand if you’ve looked for free utilities before how much garbage and clutter you end up with in experimenting to find something that’s going to do what you need. Well, no more!

You can get Super C at their website. The catch is finding the download link among the ads! Don’t worry, the ads are all work safe. This is the only gripe I have. But hey, if I have to find a download link among some non-offensive ads for such a great program, I’ll do it every time.

-Bryan Clark

1 41 42 43 44