Compatibility Guarantee - All Media Transferred Local

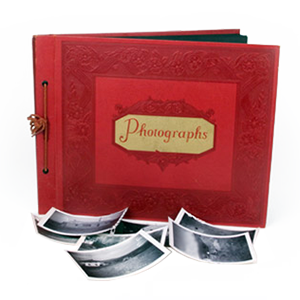
Photo Scaninning

Photo
Scanning

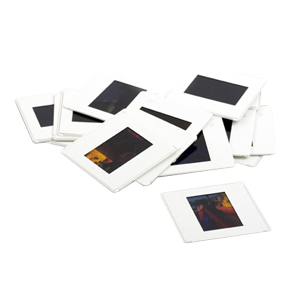
Slide Scaninning

Slide Scanning

Negative Scanning

Negative Scanning

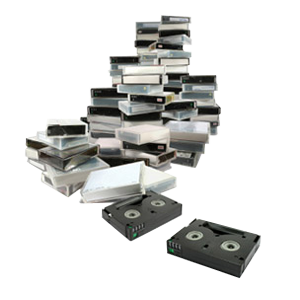
Video Transfer

Video Tape Transfer

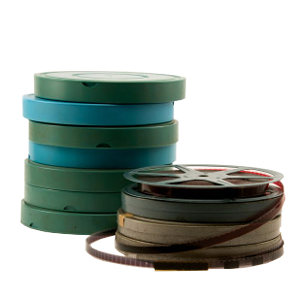
Film Transfer

Film
Transfer

Audio Transfer

Audio Transfer

Slideshows

Celebration
Videos

Latest Posts

Top 5 Misconceptions About Photo Scanning

Using Document Scanners to Scan Photos

photo scanning san diegoDocument scanners are great for what they are designed for, which is documents. Lots of people get the idea to purchase one of these document scanners to help automate and make their lives easier when it comes to scanning their photos. Like with any job involving priceless items such as scanning photos, you typically want the job done right the first time around. When you try to add photos to scan on your document scanner, you will end up with some problems! The way the document scanner works is that you load a stack of documents into the feeder, and then the machine will feed each document through the scanner like a fax machine would. The end result is a scan that takes a fraction of the time that a flatbed scanner would. The problems arise in the method the machine feeds the paper through. If you scan photos in this manner, because of the fact that the media is in motion as it’s being scanned, the quality suffers from streaking, poor colorization, blurriness and other ailments. There are stories of people having to redo their entire scanning job because of these quality problems. So, for the best results for any type of image scanning, you’d ideally want to get your hands on a high end dedicated photo scanner, or flatbed.

Does DPI Matter?

DPI or dots per inch is often not fully understood. With images, a higher DPI does not necessarily mean a higher quality image. It simply means that there is a higher resolution, or more dots on one of the images. A good example of this is if one of your images was shot with a dirty or blurry lens, scanned at 600dpi, and another picture from a clean camera scanned at 300dpi. The 300dpi image will be of much higher quality to the naked eye. Also, simply setting the DPI to a higher settings will not always solve your quality issues. There are a multitude of other factors that can play into creating the best image possible such as contrast levels, built in filters and dust and scratch removal. The best bet is to take problematic or poor quality photos to a professional image scanning or restoration service. These imaging professionals have the experience and tools to extract the best possible quality from your images.

Prints vs Negatives

When deciding on whether to scan your images from a print or negative, going with negative scanning is generally the better choice. First, realize that a photograph is merely a copy of the original processed film. Photographs, are usually printed around 260-300dpi at the standard photo labs. This is why photos are typically scanned at 300 dpi, which makes the higher resolutions much better post scanning work such as photo restoration or enlarging the original prints. The negatives contain much more information in the frame than a photo could possibly contain. This is why negatives are capable of being scanned at resolutions of up to 4000dpi. This type of resolution can display these details much more easily and clearly, especially when a larger print is be made. Another reason you’d want to stick to the original film is that the originals contain much more contrast and color detail than the prints. The colors and detail of printed photos tend to fade over the years from exposure to sunlight, etc.

Is Photo Scanning Quick and Easy?

Scanning large amounts of photos is actually quite a laborious process. If quality is your main concern, scanning your photo collection could take an enormous amount of time. In order to efficiently scan your photos, you’d need multiple scanners, computers, and hands! If you have a large collection, and limited time to spare, it’s highly recommended to outsource the work to a company who deals with high quality photo scanning. This will allow you the free time you need, while getting your photos professionally scanned in a timely manner. Most photo scanning companies will charge based on the number of images submitted, so it will be very easy to budget your project this way.

Expensive Equipment

When dealing with a photo scanning order, you will obviously need to purchase some equipment in order to get the project going. There are tons of different brands of scanners to buy, each with their own pros and cons. In order to get the job done correctly and efficiently, the equipment you’re going to need is not cheap. You will need a computer that is capable of handling higher end equipment and won’t freeze up or slow you down. You’d also need to purchase a high-end flatbed scanner which will greatly enhance the quality of the images versus a low quality cheap-o scanner.

We try to inform everyone of these misconceptions about when they come to us for a photo scanning order in Los Angeles or photo scanning in Irvine. The more information you have, the better your outcome will be and happier about the end results!

DVD Your Memories never outsources any work submitted to us. All work is done in-house at the location you dropped it off at. Some other companies will actually ship your order to another state of even over seas to another country! We want to provide the safest, and most convenient method of transferring your old video tapes, photos, and film to DVD right from your own city.

Media Format Wars: Wax Cylinder vs. Records


A long time ago, before Blu-Rays, DVD’s and televisions, a fierce technological battle was unfolding before the American people and the world. The famous audio format war was between Thomas Edison and Emile Berliner, both of whom invented competing types of records for the phonograph. Edison first pioneered the wax cylinder in the 1880s. He originally intended it as a means of recording telephone conversations, but the cylinders soon became a popular format for musical recordings. Berliner, meanwhile, released the disk record as a competing format in 1894. Disks had originally been used solely in children’s toys, and in the beginning their sound quality was poor. But after several technical modifications, they were able to rival Edison’s cylinders in sound quality, sparking a format war that would last nearly 20 years.

Read more at Toptenz.net

Come on down to have your old Vinyl Records to CD San Diego or Irvine!!

Top Image Hosting Sites of 2011 and How to Use Them

The internet is full of all kinds of different websites this day and age. Image hosting sites have really boomed in popularity over the years. Do the the sensitive nature of images, these sites offer many advantages ranging from security to ease of use. Most are aware of image hosting of some form, the most common being the common Facebook uploaded images and Facebook albums. Facebook hosts so many images that they are spending millions of dollars per month just to expand to new servers in order to meet everyones image hosting demands!

With image hosting, most people would simply want to upload their photos to a photo album and be done with it. For simple online storage such as this, Facebook is an excellent option. Facebook image uploading provided an extremely quick and easy method of uploading, and not to mention, your photos will be instantly part of the largest social networking site on the planet in the process. Due to the ease of use, popularity, and functionality of Facebook, it has quickly risen to the zenith of the internet world.

In addition to Facebook, there are several other hosting options to choose from, with each having it’s own advantages. These sites are particularly advantageous if you want an image hosting option that’s not anchored to your personal Facebook account. Photobucket provides a great platform for image hosting. After signing up for an account, uploading is only a few clicks away. You can also set up custom links and tags for all your images for easy sharing with friends or family. Albums can be customized to match the intent of the user, as well. Each album can be given a different background to match their image’s theme, whether it be Christmas, or Summer themed. The one drawback of Photobucket is that they do have bandwidth limitations on the free accounts. To get around this, you’d need to upgrade a Pro account, but the cost is negligible at less than $2 per month.

Picassa, owned by Google, is another popular choice for avid photographers. Picassa is great because you can actually download the Picassa program from Google, import your images into the program, and the program will actually automatically sync the images on your computer to your online Picassa account. This feature makes it incredible easy to store your photos, as it requires next to no effort. Aside from this, Picassa also has a very clean user interface, which makes it a breeze to find what you need from the program without pulling your hair out in the process.

Another site which has gained a strong following is Flickr. This is sort of like a photographers social network. People will upload photos, which can then friends can add testimonials to the images. Flickr also has a forum with an active community deeply rooted in photography. The drawback of Flickr may be only that it lacks some of the more advanced features and sharing options of the larger networks.

When planning your photo scanning job, you should have an online storage option in your mind, as it’s an extremely easy way to preserve your images. We recommend to all our customers whether they are interested in photo scanning in San Diego or slide scanning in Irvine that they always consider using online storage in addition to a hard copy.

Happy Halloween!

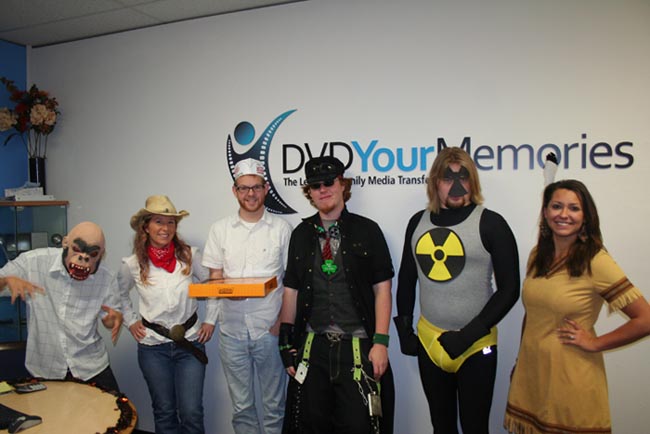
Halloween is here. This marks the occasion of when all the funny and strange things tend to happen. This year was definitely no exception! The staff of DVD Your Memories San Diego came prepared to celebrate the spooky holiday by dressing up in their own costumes, much to the delight of our customers, and other businesses around us. Check out the staff picture below!

dvd your memories halloween 2010

In addition to creating memories and handing out candy, our office building holds an annual Halloween costume contest. This year, our very own custom slideshow editor, Caleb, won the coveted first prize for his rendition of his superhero named “Uranium”!

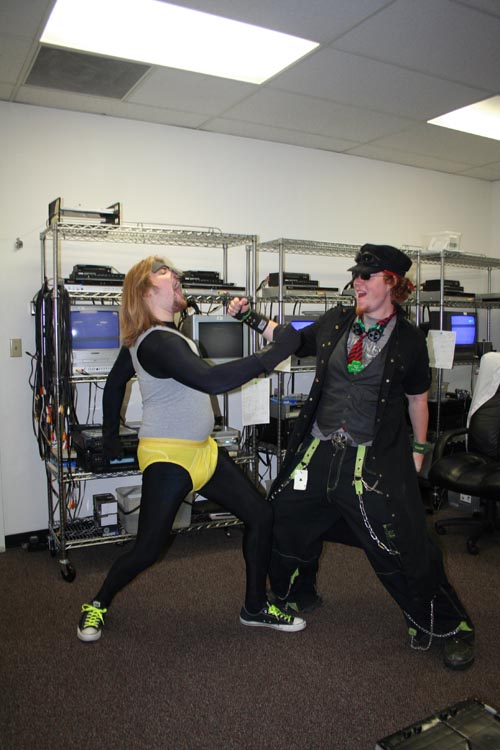
Soon after the announcement, our video to DVD technician Ed, challenged him to a friendly duel to determine just who is the most powerful technician in the office…

With Halloween almost over, that means the holidays are approaching at rapid pace! When thinking of holiday gifts this year, don’t forget about giving the wonderful gift of memories! Just think of how thrilled Mom or Grandma would be to have all of her old 8mm film to DVD, or Super 8 to DVD? In fact, film to DVD in San Diego are some of the most talked about holiday gifts!

VHS to DVD Irvine | Video to DVD Irvine

Since our move to Irvine back in June, we’ve been helping people from all walks of life transfer their family’s VHS to DVD, film to DVD, audio tapes to CD, as well as our other great services. With our services extending to the great city of Irvine, DVD Your Memories has quickly risen to the local leading media transfer center for nearly all of Southern California! We dedicate ourselves to providing our customers with a wonderful, emotional experience as we bring your fading memories back to life again. Now that the holidays are fast approaching, what better way to spend the new year than with your family and friends? Now you can have all your memories with you for the next holiday season, on DVDs! We encourage you to help spread the word so that other families will not lose their memories as time goes on. For many people around the country, the thought of converting their videos to DVD is still buried deep in their subconscious. Our VHS to DVD in Irvine will transfer all of your VHS tapes onto our 100-year archival discs, to ensure maximum lifespan.

DVD Ripping Guide | How to Rip a DVD Using Handbrake

Today I’ll be discussing a hot topic in the media transfer world, and it’s a question I get asked multiple times per week.

“Can I edit from a DVD?”

Technically, it is possible, but there are some drawbacks. For editing purposes we advise our customers to first transfer their videos to hard drive in DV AVI format, perfect for editing with. You ideally want to be working with the highest quality video you can get your hand on, but there are those times when all you have to work with is a DVD. Keep in mind that editing from a DVD can reduce the quality of the final product. This is due to the fact that the video to DVD is already compressed to begin with.

How to Rip a DVD

In order to extract the video from the DVD, you will need to perform a process known as “ripping”. Ripping is simply the name for the process of copying audio or video content to a hard disk from a removable media such as DVD or CD. The following guide will detail the steps necessary for ripping your own DVDs

First thing you’ll need is DVD ripping software. For this guide, we’ll be using a free, open-source program called Handbrake. You can download Handbrake for both PC and Mac from here:

https://handbrake.fr/downloads.php

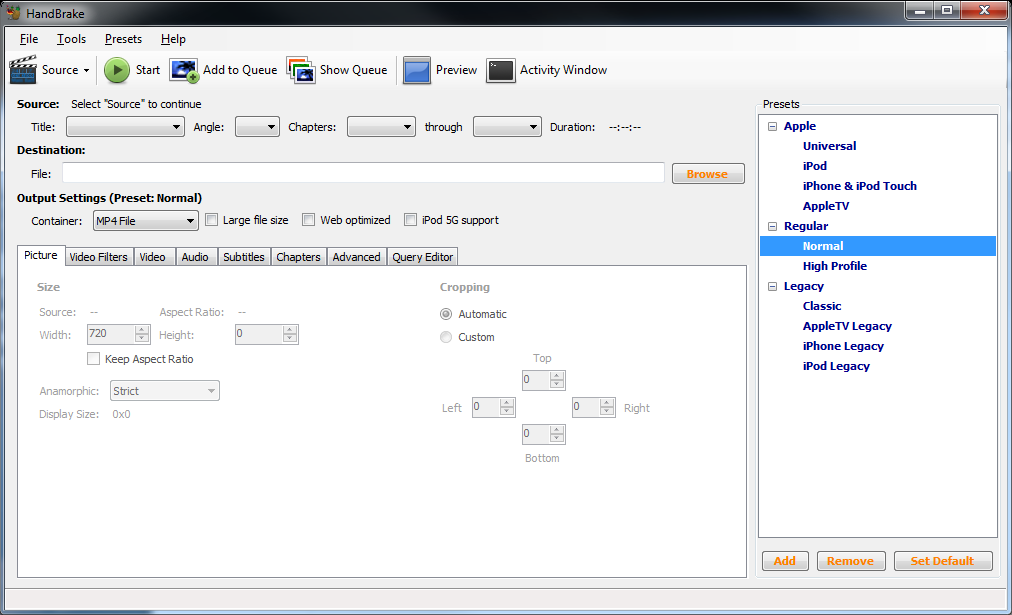
Once installed, go ahead and open the program up and you will be presented with an interface similar to this. Insert the DVD you wish to rip into your DVD drive.

At first glance, it may look like a lot of options and configurations, but it’s really easy. For ripping a DVD you’re going to want to first select it as the source of your video. Click the source button on the top left of the interface, and this will give you three options. You’re going to want to select the third option, DVD Drive. The program will read the data from the DVD for a couple seconds, and then show up on the interface.

Right below the source button, there is a drop-down menu named “Title:”. You are given a list of titles on the source. Select the one you wish to encode. (Hint: the one with the longest duration is usually the main movie.) By Default, HandBrake will select the longest title to encode. On some sources you may need to change this as it is not always the correct title. If you are unsure which title to select, open the source in a Media or DVD player application and watch what title it selects for playback. Sometimes your disc may have multiple videos on it, in this case just select each title until all of the ones you need have been encoded.

The box beneath Title, is another one called Destination. This is where the output video file will be saved on your computer. You can press the browse button to name your new video and select a folder to save to. To save yourself some confusion you should encode the video to a folder that is easily accessible to you.

Handbrake also comes with the option to use presets. For instance, if you know that you are ripping a DVD in order to put the video on your ipod, you would select the ipod preset which will make the encoded video. For most instances, selecting the “normal” preset will be fine. Once everything is set, just hit the start button up at the top and wait for the encode. The time it takes can vary depending on the presets you used, and the length of the video.

Best Video Players | Top Video Player Applications for PC

Getting certain types videos to play on your home computer can sometimes be a challenge. As computer techonology progresses and gets more and more complicated, the software that comes bundles follows the same path. In this article, you will find the current best video players for PC. The current Windows Media Player is a perfect example of a once decent media center turned into an almost unusable mess of features. Major developers seem too worried about packing as many features as they can while turning a blind eye to simple usability. As a result of this, we’re left with a product that doesn’t exactly do what we want, or has problems performing simple requests.

Windows Media Player has always been notoriously picky when it comes to playing DVDs. Sometimes it works fine, while other times it doesn’t even realize you have a disc in the drive. Sometimes in the past, people have even had to convert the video to a more native format before they can even watch it on their own comptuer! Other times, people were forced to download low quality, choppy video players infested with viruses and malware. Fortunately, there are great alternatives to the standard bundled media players or random shareware that you may already have on your computer.

Whenever one of our customers has difficulty playing any sort of video on their computer or laptop, I first recommend that they download a great, lightweight, and powerful video player called VLC Player. This piece of software seems to play just about anything, even corrupted videos (if enough data is present). We’ve rarely had any problems with VLC not playing videos or DVDs. Countless others have had proven success simply by switching to this program, and never having to worry about a video player again.

Another excellent player, with proven results is Media Player Classic. Media Player Classic started out as a project to preserve the simplicity and lightweight playback of the old versions of Windows Media Player while keeping codecs and features current for the present generation of video. The outcome is an extremely lightweight, free, portable, and self-contained video player that has built-in codecs for a wide variety of media playback. The upside of such a design is you can use it on a computer that doesn’t have the proper codecs installed for the video you want to watch.

With these new advancements in video technology it’s no longer necessary for a lengthy video to DVD process just to watch a video. If you find yourself constantly frustrated while getting videos to play on your system, give one of these fine video players a try.

1 37 38 39 40 41 44