Compatibility Guarantee - All Media Transferred Local

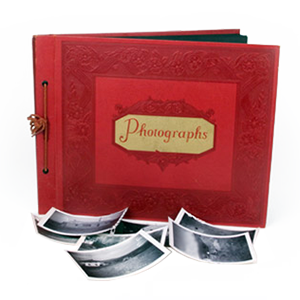
Photo Scaninning

Photo
Scanning

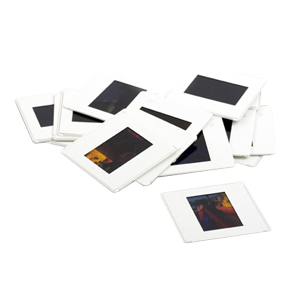
Slide Scaninning

Slide Scanning

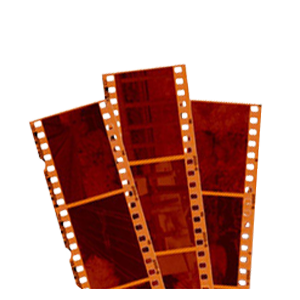
Negative Scanning

Negative Scanning

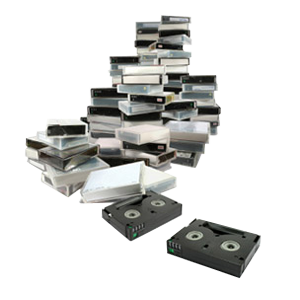
Video Transfer

Video Tape Transfer

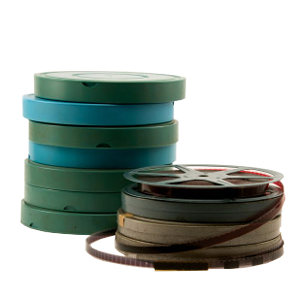
Film Transfer

Film
Transfer

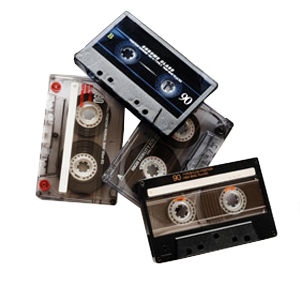
Audio Transfer

Audio Transfer

Slideshows

Celebration
Videos

Latest Posts

Save Money on Summer Gas Prices and at DVD Your Memories by Taking the Metro!

The Culver City stop of the newly built Metro Exposition line is now open, and it stops just in front of our Los Angeles store! Phase 1 of the $930-million light rail Expo Line is now complete, marking the first time these trains will serve this part of the city since the old Red Trolley days 50 years ago. This new stop connects Culver City to the existing transit stations all across Los Angeles County. Now riders can take the train from Culver City all the way up to Pasadena, and down Long Beach, as well as clear across the city to East LA.

As part of DVD Your Memories commitment to keeping Los Angeles green, we want to encourage our customers to take the Metro to our store.

*Special*
Take the Metro and show us your ticket stub when you place your order for any of our media transfer services like video to DVD or photo scanning, and we will give you 10% off your order with us.

Enjoy the ride!

DVD Your Memories, Top Media Service in California

Yelp’s Favorite Local Media Transfer in Southern California

Locals Love us On Yelp!

We here at DVD Your Memories have been working hard for over fifteen years to be the best media transfer company in Southern California. We love helping every one of our customers to experience the joy of reviving their memories to digital format, for themselves, their family, and future generations to enjoy. We’ve been the best in the Memories business in Southern California since 2006; from San Diego to Los Angeles. But don’t take our word for it! No local service has the reputation or volume of reviews that we do.

Our Store Pages and Reviews

Our Los Angeles Store has over 200 reviews for 4.9 stars!

DVD Your Memories Los Angeles Yelp Page

Our Orange County Store has over 150 reviews for 4.6 stars!

DVD Your Memories Orange County Yelp Page

Our San Diego Store has over 100 reviews for 4.8 stars!

DVD Your Memories San Diego Yelp Page

Our Torrance Store has over 60 reviews for 4.9 stars!

DVD Your Memories South Bay Yelp Page

Our Services

  • VHS to Digital
  • Film to Digital
  • Photo Scanning
  • Slide Scanning
  • Negative Scanning
  • Audio Transfer
  • Building a Home Recording Studio Under Budget

    Developments in audio mixing and editing software make it easier than ever for a talented, technically capable musician to add professional polish to amateur audio. No degree in sound engineering? No problem! Some simple hardware and software adjustments can have you rocking out in no time. In addition, you can also perform your own audio transfer services, right from your home!

    Of course, building a home studio takes more than just user-friendly software—you’ll also need some quality equipment such as microphones, headset, instruments, cables, a way to record drums, and accessories to hold everything in place and connected. To help guide you to the right gear, Gizmodo has a cool guide on what kind of equipment to go for.

    To read more, check out the article here

    Guidelines and Tips for Shipping Your Video Tapes

    Thousands of items are shipped around the world each day, arriving right on time to the correct destination. Shipping your memories can make some people worried, mostly because there are no replacements for these items. They are truly unique and one of a kind, and once lost, they are gone forever. Some common questions potential shippers typically ask themselves are:

    Will my memories be damaged in transit?
    How do I ship my tapes effectively?

    Some of us have horror stories or bad experiences with different shipping companies. Sometimes items are broken or dead on arrival, or sometimes never arrive at all. However, if you decide to ship your media our through the mail or a shipping company, there are some steps you can take to minimize the instances of damage to your items. The guidelines below don’t necessarily need to be followed 100%, but provides a rough understanding of what you should do to fully protect your video tapes.

    Guidelines for Packaging and Shipping Magnetic Tape Recording and Optical Discs

    Video Tapes

    – Cassette shells should be used –or cassettes should be placed in a cassette box– which have a hub-locking device to prevent the tape in the cassette shell from becoming loose while in transit. If the cassette housing has an adequate hub-locking mechanism, it should be placed in a solid cassette box or housing for shipping. Cardboard containers should not be used as the primary cassette box. The cassette in its cassette box should be packed into rigid containers, such as corrugated board, with bubble wrap assuring that they fit snugly into the outer containers to avoid damage in transit. The outer container may be a padded envelope, or a rigid box.

    Optical disks (DVD, CD)

    – Optical disks –whether CD-ROM or CD-R recordings– should be securely placed over the fingers of the hub of a good quality CD jewel case. The optical disk in its jewel case should be packed into a rigid container, such as corrugated board, with bubble wrap assuring that the jewel case fits snugly in the outer container to minimize damage in transit. The outer container may be a padded envelope or a rigid box.

    If you’re interested in shipping your media to DVD Your Memories, please head on over to our shipping information page.

    How to Transfer Audio Cassettes to CD and Other Digital Formats

    I can remember a time when the audio cassette was king. More portable than vinyl and less prone to damage, it could even be taken in your car or played on personal players like Sony’s
    Walkman! Now it has gone the way of the dinosaur, and even its heir, the CD, is falling into disuse. Digital formats such as MP3 reign supreme now. “That’s all good,” you might think, “but I have a mountain of old tapes in my closet. How do I transfer audio cassettes into digital formats? After all, I can’t just put them into my computer.” Good news: It’s easy to explain how to transfer your old audio cassettes in digital formats. The bad news, unfortunately, is that it can be a technology intensive and time-consuming process. The really good news, though? DVD Your Memories offers an easy and inexpensive Audio Transfer service for getting that old audio into the 21st century. For those DIY-ers out there, the basic process is detailed below, and remember, if you get into the weeds, feel free to call in the cavalry at 1-877-FILM-2-DVD.

    Steps to Transfer Your Old Audio Cassettes to CD and Other Digital Formats

    1. Please read all directions first. This is a process that can be confusing for people who aren’t experts. It can also damage your cassette or your computer if you don’t know what you are doing. If you are not an expert, our Audio Transfer service can quickly, easily, and inexpensively transfer your old cassette, reel-to-reel, or vinyl LP recordings into digital formats.

    2. You will need the following: One computer with an audio card and a line-in jack (most computers come with this built-in), a cassette player with a line-out jack, one high quality 3.5mm to 3.5mm cable, the same cable you’d use to hook up your iPod to your car stereo’s AUX input.

    3. Connect the cable into your computer’s line-in jack and into the player’s line-out jack. If the cassette deck is old, we recommend cleaning the heads prior to transferring.

    4. Open your computer’s sound recording software. Most PC’s have Windows Sound Recorder, which will work, but there are a number of other programs, both free and commercial. Some of these will allow complex editing and for exporting in MP3 format. We recommend the free program, Audacity.

    5. Make sure your cassette is cued to where you want it.

    6. Start recording on your computer.

    7. Start your tape.

    8. When done, stop the recorder first and then the tape.

    9. Save the file before editing. Depending on the recording program, from here you can export as multiple file types such as WAV, MP3 or FLAC.

    10. Editing is an intensive process and may be beyond novices. Make sure to never overwrite your original file whe editing, but instead only edit copies of the file so you can always restart if you make a mistake.

    Tips for a better audio cassette transfer

    1. Start a low volume! This reduces the risk of accidentally harming your computer’s circuitry.
    2. An excellent tip from WikiHow:
    “The key to getting a good transfer from tape, especially cassette tape is to get the azimuth right. Listen in Mono and slowly adjust the azimuth screw on the play head on your cassette deck until you hear sound with the maximum treble. You may need to move it a little left and right initially to get a feel of how the sound changes and which setting gives you the best high frequency playback. “
    3. Again, to get the results you want this can be a time-consuming process and difficult process, especially if you aren’t an expert. Our Audio Transfer service is a cost-effective, quick, and easy way to get expert results the very first time, without running the risk and damaging your computer or those priceless recordings. Check out our Audio Transfer section for more deatials on the services we offer and pricing.

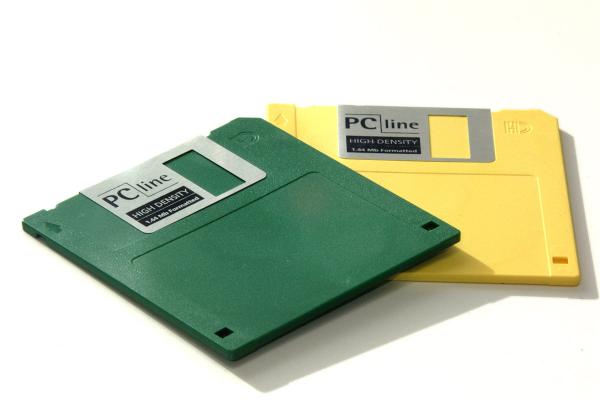
    How to Get Photos Off Old Floppy Disks

    Back in the old days, there were no such things as USB flash drives, portable hard drives and WiFi. To transfer data from one computer to another, you had to load your data onto floppy disks. Many people have fond memories loading basic programs, documents and scanning photos onto these disks to bring to class or to a friend or family members house. Many times we may have long lost data on these disks that would be cool to see again.

    The first thing to notice about your disks is the size. Floppy disks came in different shapes and sizes, and eventually fell on the standard 3.5in floppy we’ve all seen. The floppy disk drive (FDD) was invented at IBM by Alan Shugart in 1967. The first models of floppy drives used an 8-inch disk, which was actually floppy, and not rigid like later models. The 8-inch floppy soon evolved into the 5.25-inch disk that was used on the first IBM Personal Computer in August 1981. the 5.25-inch disk held only 360 kilobytes compared to the 1.44 megabyte capacity of the 3.5-inch diskette. Most likely, you’re going to find you have the 3.5in variety.

    Computers these days rarely come with a floppy drive anymore, as it’s essentially been replaced by the USB flash drives and memory cards. If you still have a computer with a floppy drive, then you’re in business, just pop your disks in there and drag and drop your old files onto your computer.

    If you don’t have a computer with a floppy drive still available, then the only way to get the data off of your disks is to either purchase a USB floppy drive, or take it through our data extraction services. Keep in mind that these disks hold about 1.4MB of data, and has extremely low transfer speeds compared to what you’re used to.


    The Reel to Reel Audio Tape Machine

    Youtube user, TheDaydreamSound, explains the reel to reel audio recorder, and how it’s used.

    1 16 17 18 19 20 44