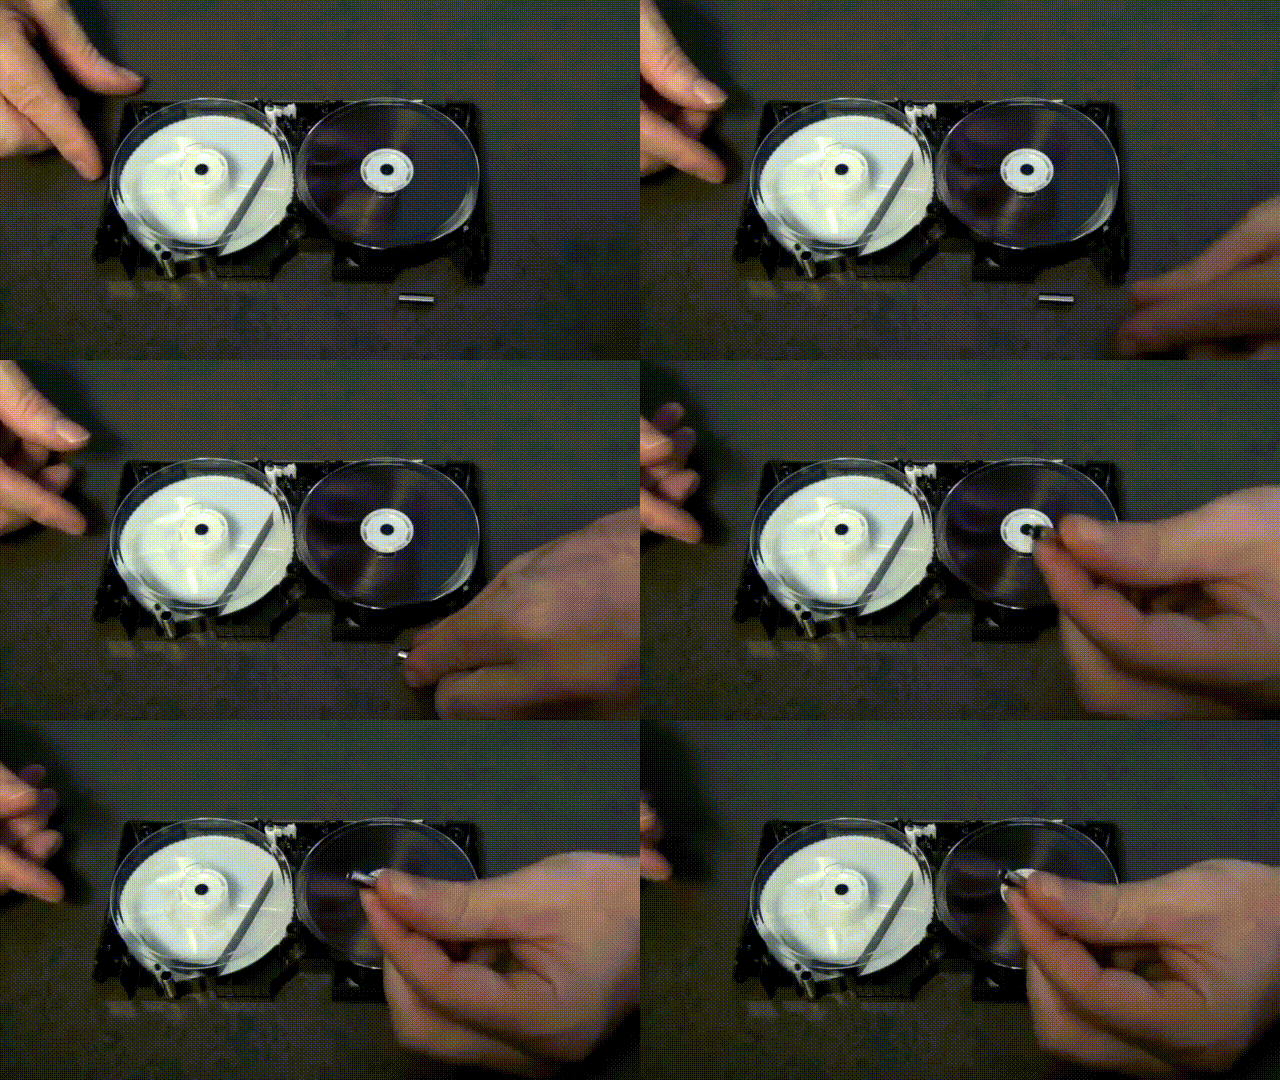
If you’ve spent any time on the internet lately, chances are that you’ve come across an animated GIF. It’s an image file that contains multiple still-frames that play looped in a sequence. Nowadays, animated GIFs are used to convey messages or reactions that a still frame just can’t match. Plus, animated GIF images are a popular way to show off your favorite video clip without the need for a fancy web video player. Plus, they are really fun to make once you’ve transferred your own home video tapes to DVD.
Look below for a sample of an animated GIF.
At first glance you might think GIFs are complicated to make, but it’s actually the opposite… they’re actually fairly easy to make, if you know the right tools.
Photoshop Method
If you have access to Photoshop, you can have your own animated GIF created in just a few minutes.
(click here for an Adobe Photoshop Free Trial)
Step One: Find a good video sequence with which you want to make a GIF. This can be anything really, but try to go for a clip that’s not too long, as longer video generally leads to a larger file size which can lead to upload and viewing problems for users on slower connections. Ideally, you want to keep your GIF length around 3-5 seconds at most.
Step Two: Download or save the video you’ve picked to your computer’s hard drive. Check out our quick guide on how to download YouTube videos if you need some assistance with that, or check out our free guide on how to rip a DVD if you’re looking to pull a clip from one of your favorite movies. Next, make sure to crop the footage down to only the length you want the GIF to play. Remember to keep the clip under 5 seconds for best results.
Step Three: Now load the video clip you’ve selected into Photoshop. To do this, use the top navigation bar to File -> Import -> Video Frames to Layers. Select the video file you created in the previous step, and it’ll be imported into Photoshop and split into several still images or frames. You can choose to import the entire video from beginning to end, or use sliders to select a smaller portion of the clip. Limiting the frames will create a smaller file, but on the other hand, limiting frames will tend make the video more choppy.

Step Four: Adjust the settings to ensure the image looks clear, and the color balance is correct. Feel free to use a slew of Photoshop touchup and effects tools if you’d like. When you’re finished, navigate to File -> Save For Web
Step Five: These next settings can be adjusted to reduce the size of your GIF. Ideally, you want to keep your GIF under 1MB, but longer GIFs may exceed this. Most people are running on broadband internet these days, so it’s not TOO big of an issue as it was years ago.
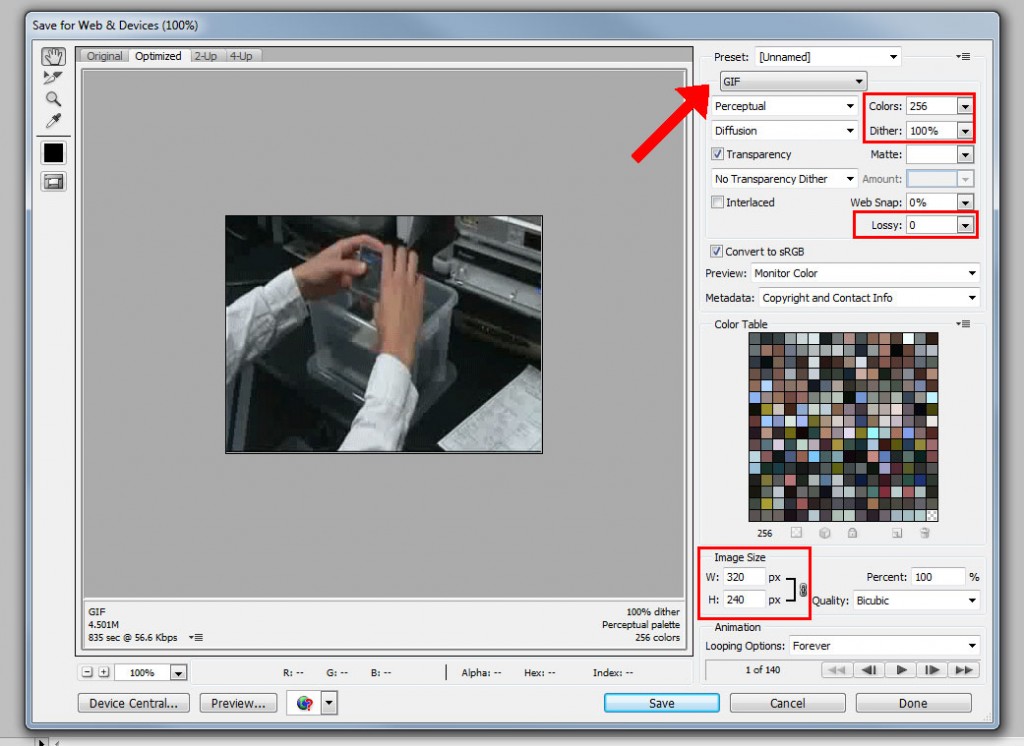
Step 6: When finished, simply save the GIF image, and you’re done and ready to start sharing!
Alternate Methods / Web App
If you don’t have access to Photoshop, there are other easy alternatives you can take. For example, if you wanted to quickly make a GIF from a Youtube video, all you’d need to do is first navigate over to https://yt2gif.com/
Step one: Start the process by entering a Youtube link. Nearly valid Youtube link will work, however the video duration must be less than 10 minutes in length. Also, keep in mind the video must be viewable by a non-logged in user for this to work! Private videos will not work with this method. Also enter a title for your GIF below the link.
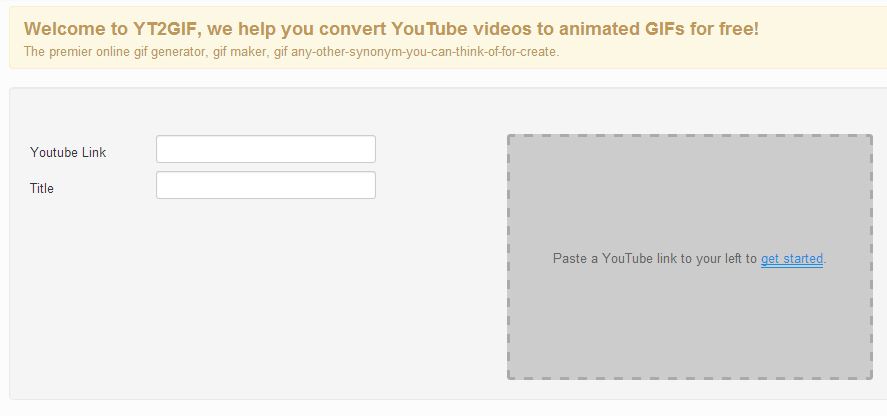
Step two: Once the link is in place, you will be granted more options for how the GIF will be created. Here you can choose precise start and stop times to ensure you capture only the footage you want. You can also adjust other variables such as the GIF length, size and overall quality… all of which will affect the resulting file size, so it’s best to be conservative in these areas to keep the file size down.
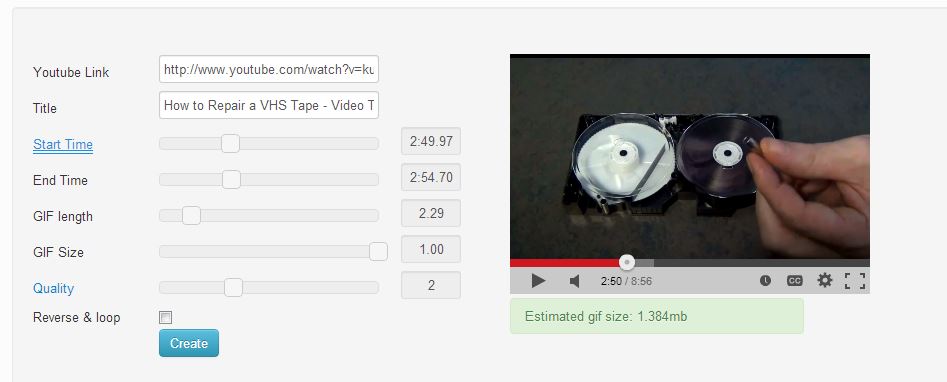
Step three: When your settings are where you want them, click “Create” and you’re all set! It will spit out a brand new GIF for you to save and start sharing around the internet.
Do you know of any easier methods? Feel free to post in the comments, we’d love to hear from you!


