



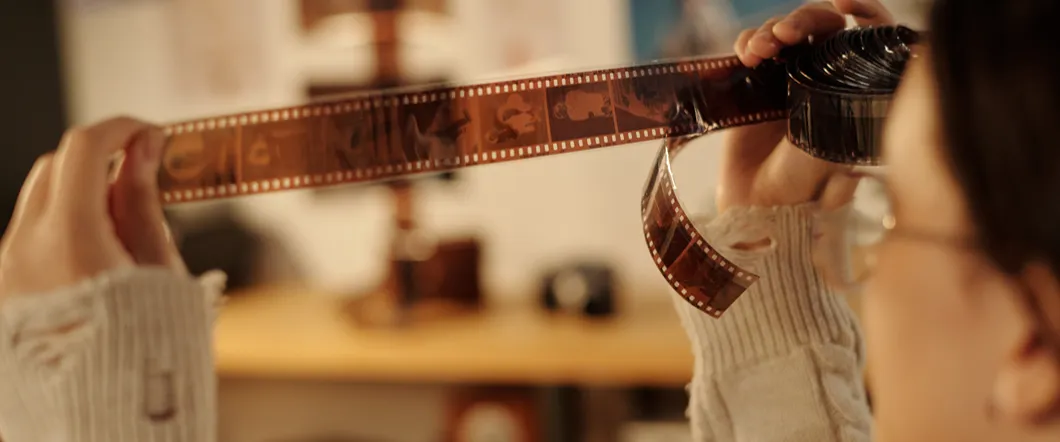
Old home movies often develop a red, blue, yellow, or faded cast as they age. These changes can affect the entire reel or vary from one scene to the next. Although the original colors may no longer exist in perfect form, professional 8mm film color correction can often improve balance, brightness, and contrast during digitization.
Why 8mm Film Color Fades
Color film contains multiple dye layers that respond differently to light, heat, moisture, and time. As those dyes deteriorate, they don’t fade at the same rate. One color may remain stronger while others weaken, creating the red or blue cast commonly found on faded 8mm film.
Storage conditions can accelerate the process. Reels kept in a Southern California garage, attic, or storage unit may experience years of heat and temperature changes. Humidity and direct sunlight can cause additional deterioration.
- Heat Exposure
- High Humidity
- Sunlight
- Unstable Temperatures
- Aging Film Dyes
Color Loss May Vary Across The Same Reel
A single reel or negative can contain footage recorded at different times, in different locations, or on different film stocks. Some scenes may retain natural color while others appear washed out or heavily tinted.
Exposure settings also affect the transferred image. Footage recorded indoors may look dark and warm, while outdoor scenes may appear brighter or cooler. Film grading must account for those variations instead of treating the reel as one continuous image.
Digitization Preserves The Color That Remains
Converting 8mm film to digital captures the image in its current condition. It prevents the original reel from serving as the only viewable copy, but digitization alone doesn’t automatically correct fading.
The quality of the initial capture affects how much usable information remains available for correction. A professional film transfer should preserve detail in both bright and dark areas while maintaining stable color and contrast. Poor capture quality can limit later adjustments, even when the film still contains recoverable image information.
Color Correction Restores Visual Balance
Color correction adjusts the relationship among red, green, and blue tones. It can reduce an unwanted cast, improve skin tones, and bring neutral areas closer to their expected appearance.
Brightness and contrast adjustments may also reveal details hidden in dark or washed-out footage. These changes work together because correcting color without addressing exposure can leave a scene looking unnatural.
Effective color grading techniques depend on the condition of each scene. A technician may need to correct one sequence toward warmer tones and reduce excessive red in the next, which is important in negative scanning because it is often very different scenes each time.
- White Balance
- Color Cast Reduction
- Brightness Adjustment
- Contrast Control
- Scene-To-Scene Matching
Correction Can’t Recreate Missing Color
Professional color grading works with the visual information still present in the film. If one or more dye layers have deteriorated severely, the original color data may no longer be recoverable.
Before-and-after color correction can show a substantial improvement without producing a perfect restoration. A red image may regain more balanced skin tones and background colors, but severely faded areas can remain muted. Extremely dark scenes may also contain too little detail to restore fully.
Film Restoration Should Preserve The Original Character
Movie color grading for modern productions often creates a deliberate cinematic look or tone. Old family films need a different approach. The best color grading usually restores balance without making the footage look newly filmed or heavily stylized.
Natural film grain, period color, and exposure differences are part of the original recording. Excessive processing can remove those characteristics or introduce artificial colors. A restrained approach keeps the footage recognizable while improving its watchability.
Scene-By-Scene Correction Produces Better Results
A single automatic filter may help one part of a reel while making another part worse. Scene-by-scene correction lets a technician respond to changing lighting, exposure, and color casts throughout the footage.
This approach takes more time because the technician monitors the film and adjusts it as conditions change. It provides greater control than applying a fixed setting across every frame.
- Correct Changing Color Casts
- Balance Indoor & Outdoor Scenes
- Improve Underexposed Footage
- Control Overexposed Areas
- Maintain Consistency Between Scenes
Protect Your Film Before Transfer
Color fading continues while film remains in storage. Moving reels to a stable environment can slow further deterioration, but it won’t reverse color already lost.
Keep your reels in a cool, dry, dark area while you arrange digitization. Don’t apply household cleaners or attempt digital correction by recording the projection with a phone or consumer camera.
Transfer Faded Film With Professional Color Correction
DVD Your Memories offers professional 8mm and Super 8 film transfer with a premium option that includes scene-by-scene color correction and manual brightness control. We can evaluate your reels, explain the likely results, and help you choose an appropriate digital format.
Bring your film to a Southern California location or use the mail-in service from elsewhere to preserve the recoverable color before further aging occurs.