




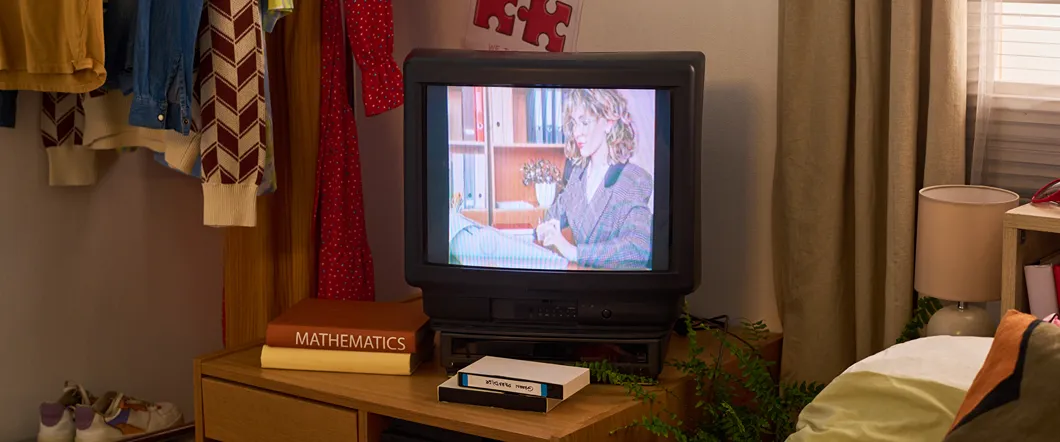
DIY VHS transfers often look worse because consumer playback equipment, inexpensive capture devices, and incorrect software settings can degrade the signal during conversion. The resulting video may appear softer, shakier, or more distorted than the tape did on an older television.
A Working VCR Doesn’t Guarantee A Good Transfer
VCRs vary considerably in playback quality. A machine can play a tape without stopping and still produce unstable tracking, color noise, or horizontal distortion. Dirty video heads and worn internal parts may create additional problems.
Alignment also matters. A tape recorded on one machine may not track correctly on another, especially after years of wear. Adjusting the tracking control can help in some cases, but it won’t correct every playback issue.
- Dirty Video Heads
- Worn Transport Components
- Poor Tape Alignment
- Unstable Tracking
- Damaged VHS Tape Parts
VHS Resolution Has Natural Limits
VHS is a low-resolution analog format. Digitization preserves the detail available on the tape, but it can’t create fine detail that the original recording never captured.
A low-quality capture device may lose even more information by reducing sharpness, crushing dark areas, or blending nearby colors. Artificial sharpening can make edges look harsh without recovering real detail.
Upscaling the file to a larger frame size doesn’t improve the source. It only adds pixels around the existing image. A careful videotape conversion captures the available signal cleanly and avoids unnecessary processing that exaggerates its limitations.
Interlaced Video Needs Proper Processing
VHS video uses interlaced scanning. Each frame consists of two fields captured at slightly different moments. Older televisions displayed these fields as intended, but modern computer screens and phones generally use progressive video.
When a capture or editing program handles interlaced video incorrectly, moving objects may develop comb-like horizontal lines. Fast camera movement can make the effect particularly noticeable.
The difference between interlaced vs. non-interlaced video concerns how each image reaches the screen. Interlaced video alternates fields, while progressive video displays complete frames. A proper workflow must deinterlace VHS video for modern playback without discarding unnecessary detail.
Cheap Capture Devices Can Degrade The Signal
Inexpensive USB capture devices vary in quality and reliability. Some produce inconsistent color, noisy images, or audio that gradually falls out of sync with the video.
Software settings can create additional quality loss. Capturing at the wrong frame rate may cause uneven motion. An incorrect aspect ratio can stretch people and objects. Low capture bitrates may introduce blocks, smearing, or blurred movement.
The device may also compress the footage before it reaches your editing software. Once that information disappears, exporting the file at a higher quality setting won’t bring it back.
Signal Instability Becomes More Visible Digitally
Old tapes don’t always play at a perfectly consistent speed. Minor timing errors may cause the picture to bend, jump, or shift horizontally. An analog television could hide some of these flaws, while a digital capture makes them easier to see.
Dropped frames may create short jumps or audio sync problems. If the capture device loses the signal entirely, it may stop recording or replace the affected section with a blank frame.
Repeatedly playing a fragile tape to test different settings can also increase wear. If the cassette squeals, stops, sheds material, or struggles to move, continuing the transfer may damage the recording.
Compression Can Make A Weak Image Worse
Your choice of recording and export settings affects the final file. Heavy compression reduces storage needs, but it can remove detail from an already limited VHS image.
Saving and exporting the footage several times may compound the loss. This often happens when you capture to a compressed format, edit the file, and compress it again for sharing. Noise and movement in analog video make these losses more noticeable.
A better workflow keeps a high-quality master file and creates smaller copies for everyday viewing or online sharing.
- Capture At An Appropriate Bitrate
- Preserve The Original Aspect Ratio
- Keep A High-Quality Master
- Limit Repeated Compression
- Create Separate Sharing Copies
MiniDV Requires A Different Transfer Approach
MiniDV stores a digital signal on tape, unlike analog VHS. A generic analog capture adapter may not provide the best path for transferring it. The appropriate MiniDV converter or playback connection should preserve the original digital information rather than convert it unnecessarily through an analog signal.
The same principle applies to other tape formats. VHS-C, Hi8, Video8, Digital8, and MicroMV require compatible playback equipment. Adapters can solve certain format differences, but they don’t correct tracking problems or tape deterioration.
Choose A Professional Video Transfer Service
A professional VHS transfer becomes more valuable when your recordings are irreplaceable, the tapes show signs of age, or you want consistent results across a large collection. It also removes the need to find working equipment and troubleshoot interlacing, compression, tracking, and audio sync.
DVD Your Memories can digitize VHS and other consumer video formats, including VHS-C, Hi8, Video8, Digital8, MiniDV, and MicroMV. Bring your collection to one of our Southern California locations and choose a digital delivery format that fits how you plan to preserve the footage.