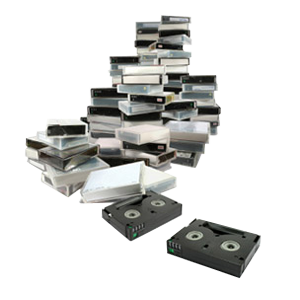
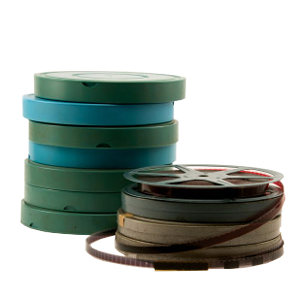
The goal of videotape restoration is to create a product that looks or sounds better than the source. This can be accomplished through a variety of ways, and commonly uses a combination of factors to achieve the desired results. Results will often vary, depending on the condition of the video, and what combination of techniques or equipment you’re using.
As with audio restoration, there is no one true method for eliminating all video errors. It can often be a tedious, time-consuming process of trial and error until you achieve the desired results. Experience and skill plays a large factor in video restoration, as with experience, you begin to notice how to diminish certain effects using various hardware and software tools.
Hardware
The first phase of the video restoration process is running the tape through high-end equipment in order to get the clearest video signal you possibly can. The VCR you use to transfer the video is actually the most important piece of equipment for VHS restoration. Video restoration is directly proportional to the quality of the source signal, which makes this step crucial to the VHS restoration process. Using a sub-par quality deck will only cause more problems down the road when it comes time to digitally correct the errors in your video.
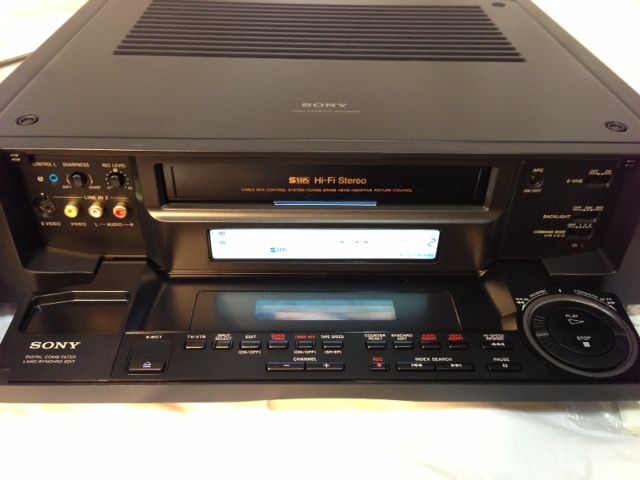
Finding a VCR capable of providing you with great results can be tough to find, especially since nowadays they don’t seem to be near the quality they were in their heyday. For a quality deck, I would suggest searching ebay, or local classifieds such as Craigslist, or the daily newspaper. Your best bet is to find an old Sony or Panasonic that’s still in good condition with clean heads. Consumer or cheap VCRs you’d find at the local department stores will not get the job done, and can often leave your videos looking worse than before. For this step, expect to spend $300-400 for a VCR that can provide you with any sort of positive results. A VCR with a built-in time-based corrector would be the best bet for restoring old VHS tapes back to their original glory, but these can get expensive quick.
You’ll also need to obtain a high-quality video capture card for your computer. Do some research and make sure you invest in one that can deliver quality results. While it’s usually best to steer clear of the cheaper USB types of video capture hardware, they can work in a pinch. For best results, we recommend that you stick to an actual video capture card, or an advanced firewire unit such as a Canopus.
If quality is your main concern, I also suggest purchasing a standalone TBC (time-based corrector), which will remove the damaged timing from the VHS tape, and replace it with a solid timing which can heavily improve the quality of video you produce. This will help to remove flickering and other motion errors associated with older VHS tapes. This is also pretty expensive, but is a must-have for any serious video enthusiast.
Software
Most video editing programs have some restoration tools available. It usually just depends on what program you feel comfortable working in. Check out Virtualdub for a great free program that can produce amazing results when combined with the right settings and plugins. When capturing video, it’s recommended to capture to uncompressed AVI format, and then apply the filters when encoding to MPEG.


