Los Angeles reel to reel audio to CD services
Brief History
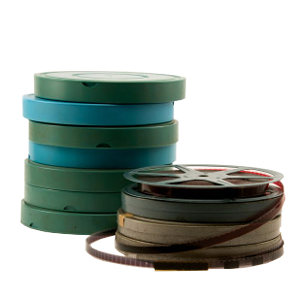
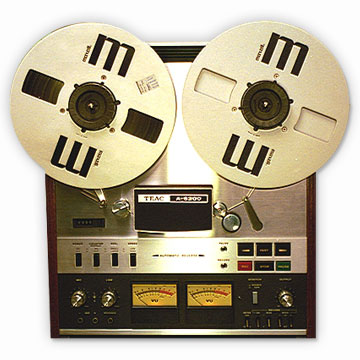
Reel to Reel audio is a form of magnetic tape audio recording in which the tape is actually held on a reel, rather than being enclosed within a cassette. The reel which holds the tape, also called the supply or feed reel, is attached to a spindle and then threaded through mechanical guides through the head assembly and then onto the empty or take-up reel. This format was commercially developed in the 1940’s by American audio engineer, Jack Mullin with financial help of Bing Crosby. Inexpensive reel-to-reel tape recorders had seen widespread use for voice recording in homes and schools until 1963, when Phillips’s audio cassette took over. Cassettes rapidly replaced reel-to-reel recorders for consumer daily use. However, the slower recording speeds, and more narrow tracks used in cassettes compromised quality.
Once professional recording studios begun using reel to reel audio, they now had several advantages which are unique to tape recordings versus phonograph recordings. Once major advantage was the fact that there was now a way to record past the 30 minute limit that phonograph records had. In addition to longer recording times, audio tape could be easily edited or manipulated in ways not possible for phonograph records. Tape editing is performed by simply cutting the tape at the required point, and reconnecting it to another portion of tape using adhesive tape, or sometimes glue. This is called a splice. Tape can also accommodate multiple tracks, allowing not just stereo recordings, but multi-track recordings too. This gives the producer of the final edit much greater flexibility, allowing a performance to be remixed long after the performance was originally recorded.
Reel to reel tape also has the option to be recorded at varying speeds. In general, the faster the tape speed, the better the sound quality will be. In addition to faithfully recording higher frequencies and increasing the magnetic signal strength, higher tape speeds spread the signal longitudinally over more tape area, reducing the effects of damage or defects in the tape. Slower speeds will help to conserve tape and are useful in situations where sound quality is not as crucial.
Tape Speeds
15/16ths of an inch per second (in/s) or 2.38 cm/s — used for very long-duration recordings (e.g. recording a radio station’s entire output in case of complaints, aka “logging”)
1? in/s or 4.76 cm/s — usually the slowest domestic speed, best for long duration speech recordings
3¾ in/s or 9.52 cm/s — common domestic speed, used on most single-speed domestic machines, reasonable quality for speech and off-air radio recordings
7½ in/s or 19.05 cm/s — highest domestic speed, also slowest professional; used by most radio stations for “dubs”, copies of commercial announcements; Through the early-mid 90’s many stations could not handle 15 IPS.
15 in/s or 38.1 cm/s — professional music recording and radio programming
30 in/s or 76.2 cm/s — used where the best possible treble response is demanded, e.g., many classical music recordings
Transfer Process
Transferring reel to Reel audio can be sometimes be much trickier than it seems. Due to the fact that the tape could have been recorded in a variety of speeds, makes it difficult to initially assess it’s length. If the tape or reel is not marked with what speed it was recorded on, the only way to find out is to load it on the machine and run it. Typically, from my experience with audio transfer in Los Angeles, most home audio recordings were recorded at 3¾ speed, so it’s best to start there first. Once you have determined the correct speed of the tape, you also want to make sure the tape is loaded correctly onto the reel. Sometimes when people have finished listening to a reel, instead of rewinding, they will leave it on the takeup reel, which if played from that, could result in backwards audio.
Reel to reel audio can also have multiple tracks on one side of the tape. One easy way to determine this is to just set the player to play both tracks at once, or stereo, so you can easily tell if the tracks are the same or not. If a reel is not stereo and has multiple tracks, you must either play the reel back again over the other track, or record in stereo and manually split them up in an editing program afterwards. After you decide the reel is ready to be transferred, load the reel onto the player and ensure that the audio out plugs from the reel to reel recorder are connected to your Line-in on your computer. All that is left to do is play the reel and hit record on your audio capture program and you are now well on your way to preserve and enjoy your old reel to reel audio in Los Angeles.




What f the tape is old and needs heating or baking. Do you have the facility to do that?