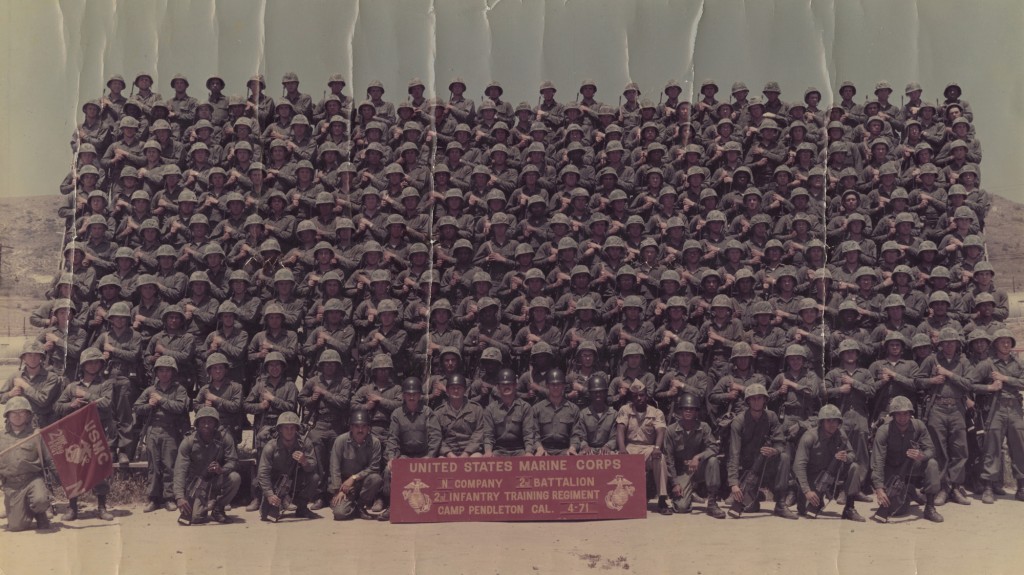
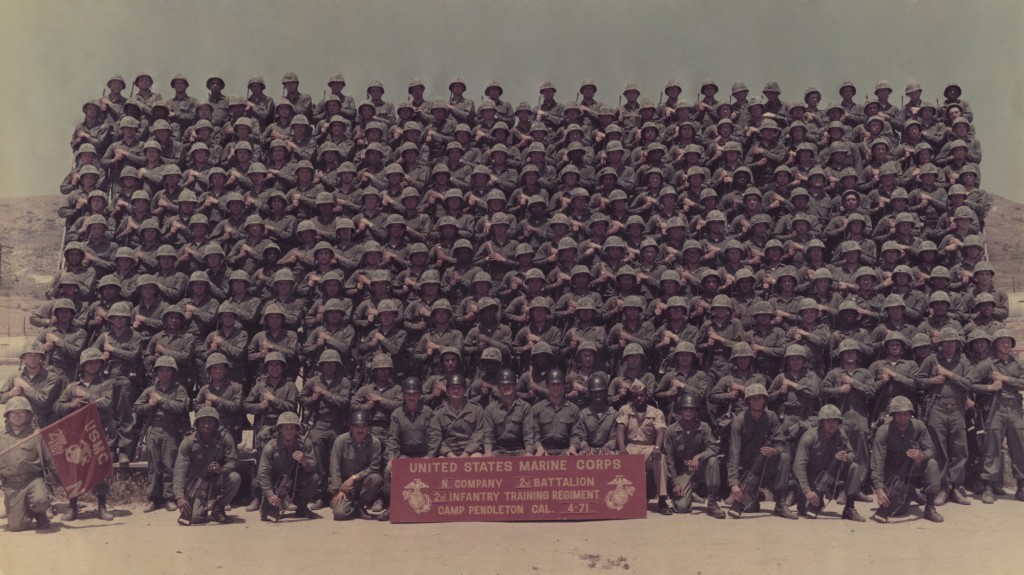
Think about the oldest photos you have. The odds are that it is probably pretty important to you. What kind of condition is it in now? 30-40 year old photos tend to have more problems that not, often suffering from torn edges, faded colors, creases, and so on. It could probably benefit from some photo retouching work. Before the digital age, photo retouching was all done by hand on either the photo itself, the negative, or a combination of both.
Photo retouching has provided people with the ability to manipulate their images in a favorable way, either by removing blemishes, or adding effects to enhance the quality of the photo. There are some steps to take which will make the whole process go a little smoother. With the right amount of time and ability, you can restore old photos such as this.
To make retouching your own photos a little easier, try to follow these steps. Remember that photo restoration techniques come with first hand experience and knowledge, and the best jobs are often result of trial and error. Try different approaches and techniques to find the style that fits you.
1. Always save the original image. This is a key point that sometimes people will look over. Always saving your original image will prevent you from accidentally deleting or altering it. You will never get that data back unless you re-digitize the image. When performing photo retouching work, you should ALWAYS be working from a copy!
2. Make sure to align the image properly. After scanning, images can sometimes be tilted or shifted left or right or slightly rotated. Try to align the image as straight as possible using the image rotation tools of your photo editing software.
3. Once the image has been straightened out, you should now make your initial crop. This is just a basic crop which will remove any unwanted areas such as scanner glass or black borders that are sometimes present after scanning.
4. Try your best and assess the damage of the photo. Find out exactly what you’d like restored, and what kind of damage it is. Find out the causes of the problem, and what you can use to fix it up.
5. Adjust the tone of the image, so that the colors appear natural. Photos that are extensively faded may need the tone adjusted before you assess the damage, as the damage could be harder to detect and assess before the tone fixes have been applied.
6. Now it’s time to do the cleanup work for the restoration. Use your knowledge, the various filters and plugins at your disposal to your advantage.
7. Once the bulk of the restoration work is completed, you may need to alter the color levels of your image. Sometimes you may need to add color to black & white image or change color levels.
8. Add any enhancements to the photo through various tools and plugins. This step is all about applying the finishing touches to your retouched image.
9. Once all the work has been completed it’s time for a final crop. This will determine the final size and output of your image so make sure you crop it correctly!
10. Save the results. If you followed these each 10 steps you should now have a clean, retouched image that will last you a lifetime! You should ideally use this 10 step process for any photo scanning and restoration project for best results.


