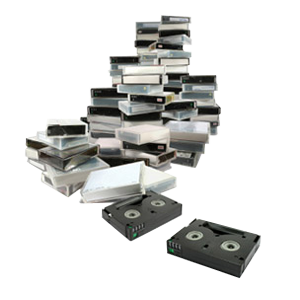
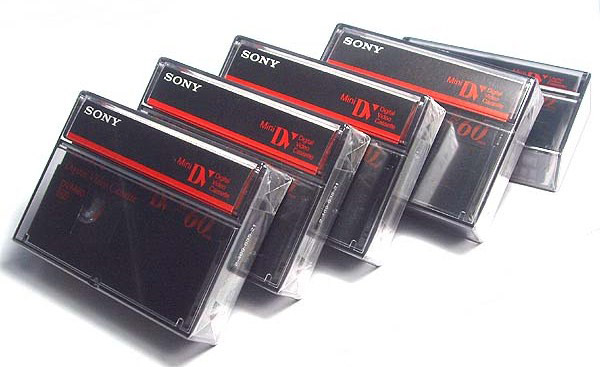
MiniDV tapes are a great medium for recording and capturing memories on video. The camcorders are small and compact, and the tapes even smaller, making carrying it with you an ease. MiniDV is a pretty versatile format, with many camcorders providing additional outputs for making capturing to your computer easier such as Firewire or USB. In order to watch or transfer your tapes to your computer, Mini DV tapes require a player or a camcorder that is compatible to record or play MiniDV cassette tapes. This means that you will not be able to play MiniDV tapes on on your home VCR or computer without first digitizing them, or transferring the video off of the tape. The easiest way to capture MiniDV tapes is to just use the same camcorder you used to record them in the first place. If this camera is no longer available to you, you’ll need to buy, rent or borrow one from somebody else. There are also standalone MiniDV players, but they can get pretty expensive in comparison to the camcorders. You can use the original camcorder to watch your tapes again, or use it to transfer MiniDV tapes to hard drive.
The process below will work for ANY MiniDV camcorder. Keep in mind that some newer camcorders might have proprietary cords and software to make this process moderately easier. Consult your instruction manual to see the features of your camcorder before beginning the transfer process. Below are some items we recommend for a clean transfer. I’ve included some quick links to Amazon, in case you need to get them prior to starting.
Make sure your computer has a firewire port or card installed. These are relatively cheap, and can add a significant transfer speed boost. Also make sure you grab a firewire cable.
RCA cables – These cables hook up to your camcorder to provide the video and audio signals to your computer. Make sure you get the correct one for your camcorder, consult the manual for the correct type.
Canopus ADVC110 Converter – hooks up to your computer via firewire and provides a way to capture MiniDV video and convert the video camcorder signal into your computer as a video file.
Video capture software – Sony Vegas has a great built-in video capturing program.
There are a couple of different ways to capture your MiniDV tapes onto your computer, depending on your model. The method I will explain is the Canopus method. The first step is to find an analog to digital converter, such as a Canopus ADVC. This device will grab the video signal from your camcorder, and then feed it into your computer for capturing. is to hook up a camcorder to your TV using the audio/video cables. You could also hook up the camcorder in a similar fashion to your computer and use a video capture program to record the video onto your computer’s hard drive.
Once your Canopus is connected to your computer via firewire cable, and you’ve obtained a camcorder with RCA or DV cables, and video capture software, you are nearly ready to start capturing video . To begin the process, connect your VCR or Cam to the Canopus with the RCA cables. After this, open your video capture software, and in the options, set the capture folder up so you know where the video will be once recording has finished. If you plan to do other tasks on your machine as it’s capturing, it’s recommended that you set the priority of your video capture software to “high”. You can do this bringing up the task manager by pushing Ctrl+Alt+Delete Select, find your video capture software on the list, right click it, and select process priority high. Next, take the tape you would like to have transferred and ensure it is fully rewound. Visually inspect the tape to make sure it’s free of mold, dirt, or other debris, then insert it into the tape player.
All that’s now left to do is to hit play on your tape player, and as soon as the video begins, click the start capture button on your video capture software. If everything went smoothly, you should see your video playing in the preview window of your video capture software, as it is being captured. Once your video tape is over, stop the capture, and in the source folder, you will find your new captured AVI video file, which is ready to be edited or converted to any form of video you choose. More and more people are realizing the ease and flexibility of virtually uncompressed AVI files, as opposed to the standard San Diego MiniDV to DVD transfer.


